Blackburn Tech Mag Race
For many of us, winter time means time on the indoor trainer. There are many types of trainers out there – wind, magnetic, fluid, and even electronic. For those with deep pockets and a desire to spend hours on the trainer, electronic trainers are a great choice. These include trainers such as the Tacx Bushido, Wahoo KICKR, RacerMate CompuTrainer, and the recently-reviewed CycleOps PowerBeam Pro.
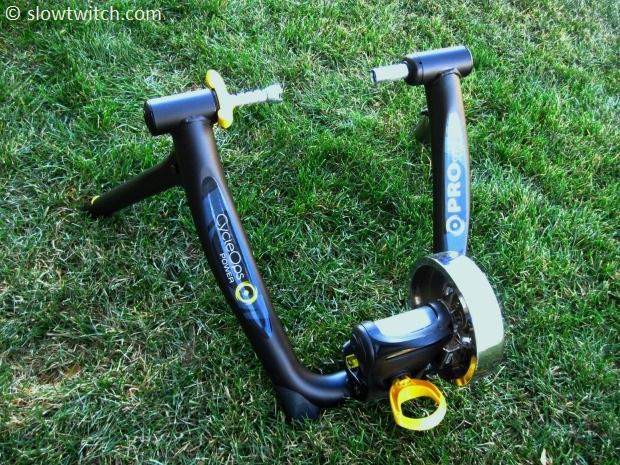
For those with fewer dollars to spend or a desire for mechanical simplicity, the non-electronic trainers can certainly do the job. To generalize, there is a simple continuum of performance. From cheapest to most-expensive, and loudest to quietest, it goes like this: Wind, Magnetic, and finally Fluid. I’ve been a long-time fluid rider. Give me some headphones, a power-measuring device, and a workout written on a post-it note, and I’m all set. I had tried both wind and magnetic trainers briefly, but never spent considerable time on them.
Blackburn Trainers
A couple months back, the folks at Blackburn Design contacted us about trying their top-end Tech Mag Race trainer (MSRP $269.99). As the name suggests, this trainer uses magnetic resistance. They said that it offered a wide range of resistance, realistic road feel, and a lifetime warranty. I figured it was worth a fair shake, and one showed up at my door several days later.
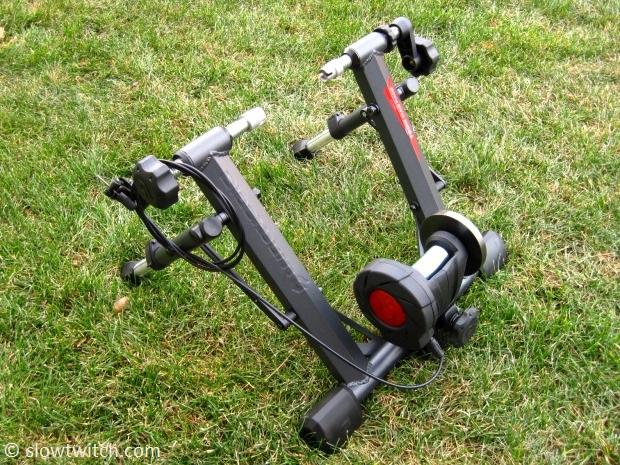
In the past, magnetic trainers suffered the reputation of offering a limited power curve. The problem is that most magnetic trainers do not offer a progressive power curve – at best, they are linear. Compare this to outdoor road riding, where aerodynamic drag causes an exponential increase in resistance as your speed increases. Fluid-type trainers tend to match this progressive power requirement, whereas mag trainers “top out” much sooner.
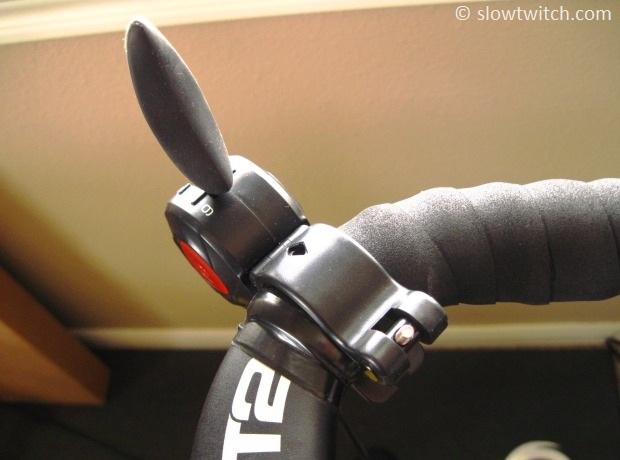
In more recent times, some magnetic trainers started featuring a manual resistance adjustment feature. Early designs required that you dismount the bike and adjust a knob on the trainer itself. Now, trainers such as the Tech Mag Race have a remote adjustment:
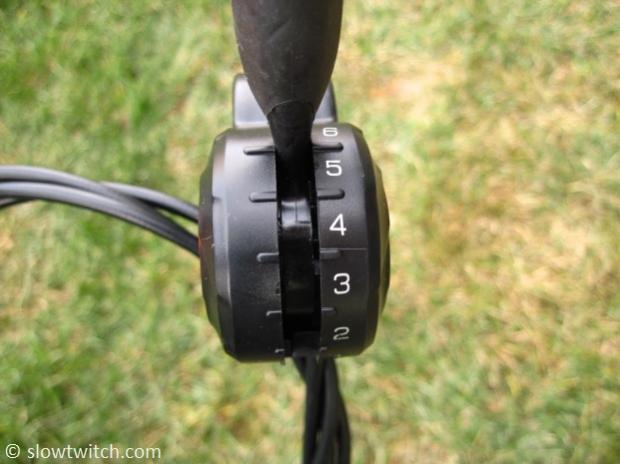
This clamp is designed to work with a 31.8mm diameter handlebar (or 26.0 using the supplied rubber shims). This works perfectly for road drop bars or mountain flat bars, but can present a problem for our aerobar-laden triathlon bikes. If your tri bike has a round base bar, you’re in the clear. If, however, your bike has a deep-section wing-style base bar, you may be out of luck. The best option in that case is to mount the clamp to the hand grip section of the bar, and simply deal with the loss of real-estate for your hands.
My trainer bike has a Profile T2 aluminum wing bar – the Blackburn clamp just fit around the ovalized section of the bar.
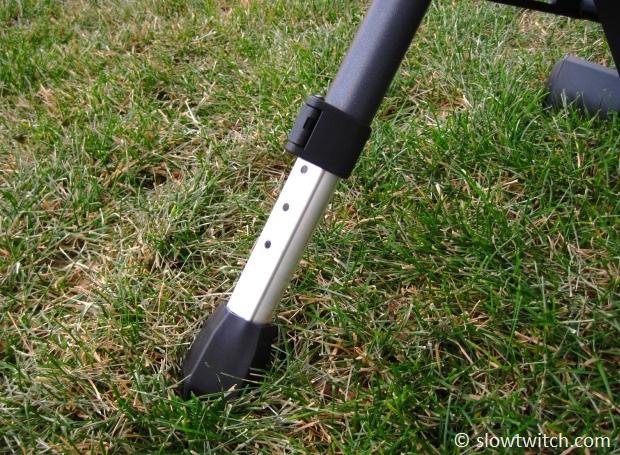
Initial setup of the trainer was easy – it comes fully-assembled in the box. All you do is unfold the legs and extend the telescoping ends:
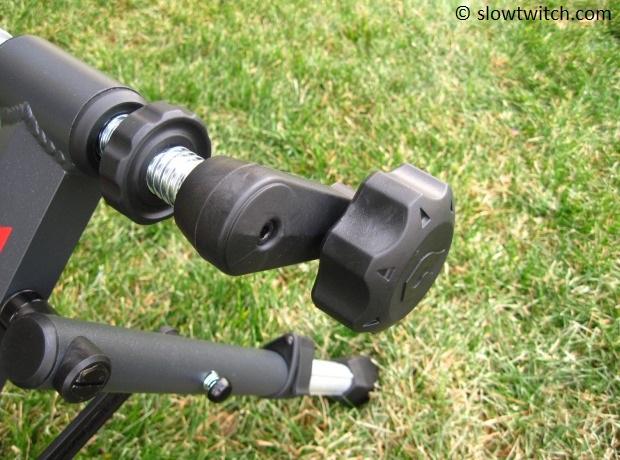
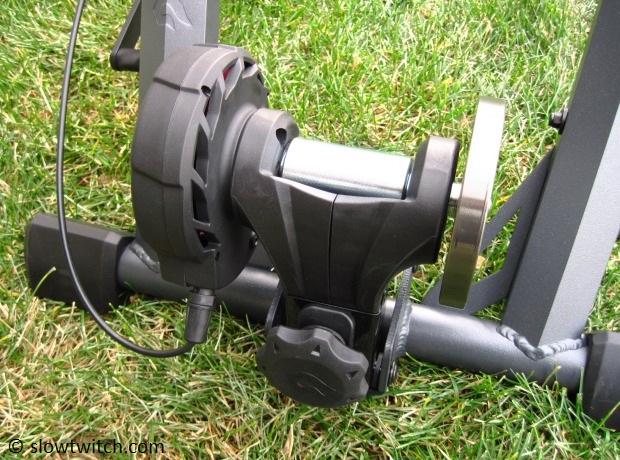
Before you install your bike, you must swap out your rear skewer for the supplied heavy-duty steel model from Blackburn. The clamping mechanism itself is quite simple, but not the fastest on the market. Some other trainers offer a quick-release adjustment that allows near-instantaneous installation and removal of the bike. The Blackburn system is slightly more cumbersome – you must thread and un-thread both sides completely each time.
They did make an effort to speed up this system with a large offset knob on one side:
The thing I was most curious about was how much the resistance adjustment knob actually changed the resistance. To test this, I did every ride with an SRM power meter, for real-time wattage feedback. For illustration purposes, I’ll recount one particular 60-minute ride I did aboard the Tech Mag Race. This included a warmup, a set of intervals, and a cool down.
I began the ride with the resistance knob on “1”, and the bike in the small chainring. As-expected, the resistance was easy – about 50 watts. Next, I wanted to test different gears to see how much this affected the resistance, while keeping the adjustment knob on the same setting. I found that you need a substantial increase in wheel speed to affect required power significantly. Changing two or three gears on the cassette might only net a few watts’ difference. To really change things, I had to switch gears up front (change between chainrings). For reference, my bike has 53/39 chainrings, a 12-23 10-speed cassette, and 700c wheels.
Next, I wanted to see how much the wattage changed when I clicked the handlebar adjustment knob, and stayed in the same gear. In a given gear, there was about a 30 watt difference in power requirement in the two settings. I completed my warmup in settings 1 and 2, staying between about 50 and 150 watts (i.e. 50 watts is setting 1 in the small ring, and 150 watts is setting 2 in the big ring).
To begin my intervals, I clicked in to setting #3. Somewhat to my surprise, my wattage jumped by about 100 (to ~250 total). This worked out fine, as my target wattage was around 250 anyhow, but I wasn’t expecting the difference to be so large for one ‘click’. For those seeking a smaller change in wattage, you would need to switch to the small chainring immediately before or after clicking to setting #3.
My workout called for a slight increase in power as the intervals progressed. For most of them, I used setting #3, and recovered in #2 (staying in the large chainring). My final two intervals crept in to setting #4 (and a few gears easier on my cassette), at around 300 watts. Thus far, I’ve yet to ever use settings 5 and 6. If the trend of the progressive power curve continues, I’d imagine that this trainer has all the resistance that any triathlete needs. Perhaps it’s time this editor eats his Wheaties and spinach…
There are several accessories available for Blackburn trainers – a rubber mat, a “sweat net”, and a front wheel holder, called the TrakBlock:
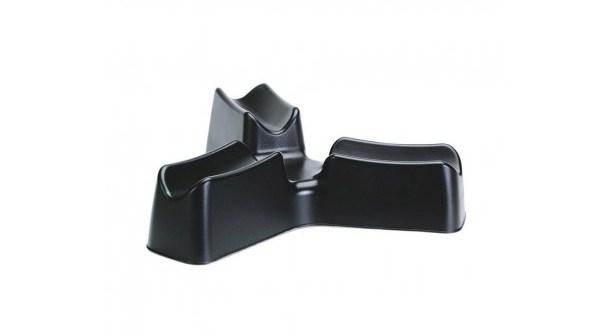
Note that all of these accessories are sold separately. My sample trainer did not include them, so I simply used my CycleOps climbing block, which worked out fine. If you’re a college student on a tight budget, you can finally make good use of those textbooks (one or two stacked under your front wheel will do the trick).
Noise, Value, and Summary
A common question with trainers is – How noisy is it? The Tech Mag Race impressed me in this area. I put it on-par with most fluid trainers I’ve tried. I don’t have an exact decibel number, but it’s definitely quieter than older mag trainers and all wind trainers I’ve used. This trainer is safe for early-morning or late-night trainer sessions (while family members or roommates may be asleep in adjacent rooms). Note that I did all my rides using a trainer-specific tire, which tends to reduce noise compared to a standard road tire.
What about value? At $269.99, the Tech Mag Race comes in below the Kurt Kinetic Magnetic ($300) and CycleOps Magneto ($279.99), but above the Tacx Blue Matic ($250) and CycleOps Mag+ ($209.99). With an included lifetime warranty, I think the Tech Mag Race is a fair value, and right in-line with the competition.
What else? Quality, ride feel, and other nit-picky notes? Overall, the trainer did everything I asked it to. This product review did not include any revelations or ‘a-ha!’ moments. It did what trainers are supposed to do – work. If I could make a few requests for improvement, they are:
1. More consistent changes in resistance between ‘clicks’ on the adjustment knob (perhaps with 8 or 10 settings total, instead of 6).
2. Wider legs for improved stability (the legs measure 19 inches apart, vs 29 inches for my CycleOps Fluid2).
3. Accommodate for deep-section aero bars/base bars (to more easily mount the resistance knob).
The biggest toss-up with this category of trainers is whether or not to step up to a fluid system. Blackburn’s own fluid trainer sells for only $30 more than the Tech Mag Race. While the Tech Mag performed well in the category of magnetic trainers, I confess that if it was my money on the line, I’d likely save my pennies a little bit longer and go for the fluid.


