Zwift Ride Update: Two Accessories I Won’t Ride Without
I wrote up my experience with the Zwift Ride and Wahoo KICKR CORE 2 as a smart, practical indoor setup. The short version: it’s quiet, stable, easy to adjust, and it removes a lot of the everyday friction that keeps people from getting on the trainer. I stand by all of that, but I left a couple of doors open in that first piece, and since then I’ve gone back and made two changes that turned a good setup into one that genuinely fits everyone in my house. I swapped the stock 170-mm crankset for Zwift’s adjustable crank arms, and I traded the original phone holder for the tablet holder. Both are optional add-ons, and in my experience, the kind of upgrades you install once and never reverse.
Solving the Fit Problem I Flagged Last Time
If you read the first review, you’ll remember the one real limitation I ran into: fit at the small end of the range. My wife is 5’1″ with a relatively short inseam, and even at the lowest seat-height setting, we couldn’t quite get her into a position that felt truly dialed. Technically she fit, but not well.
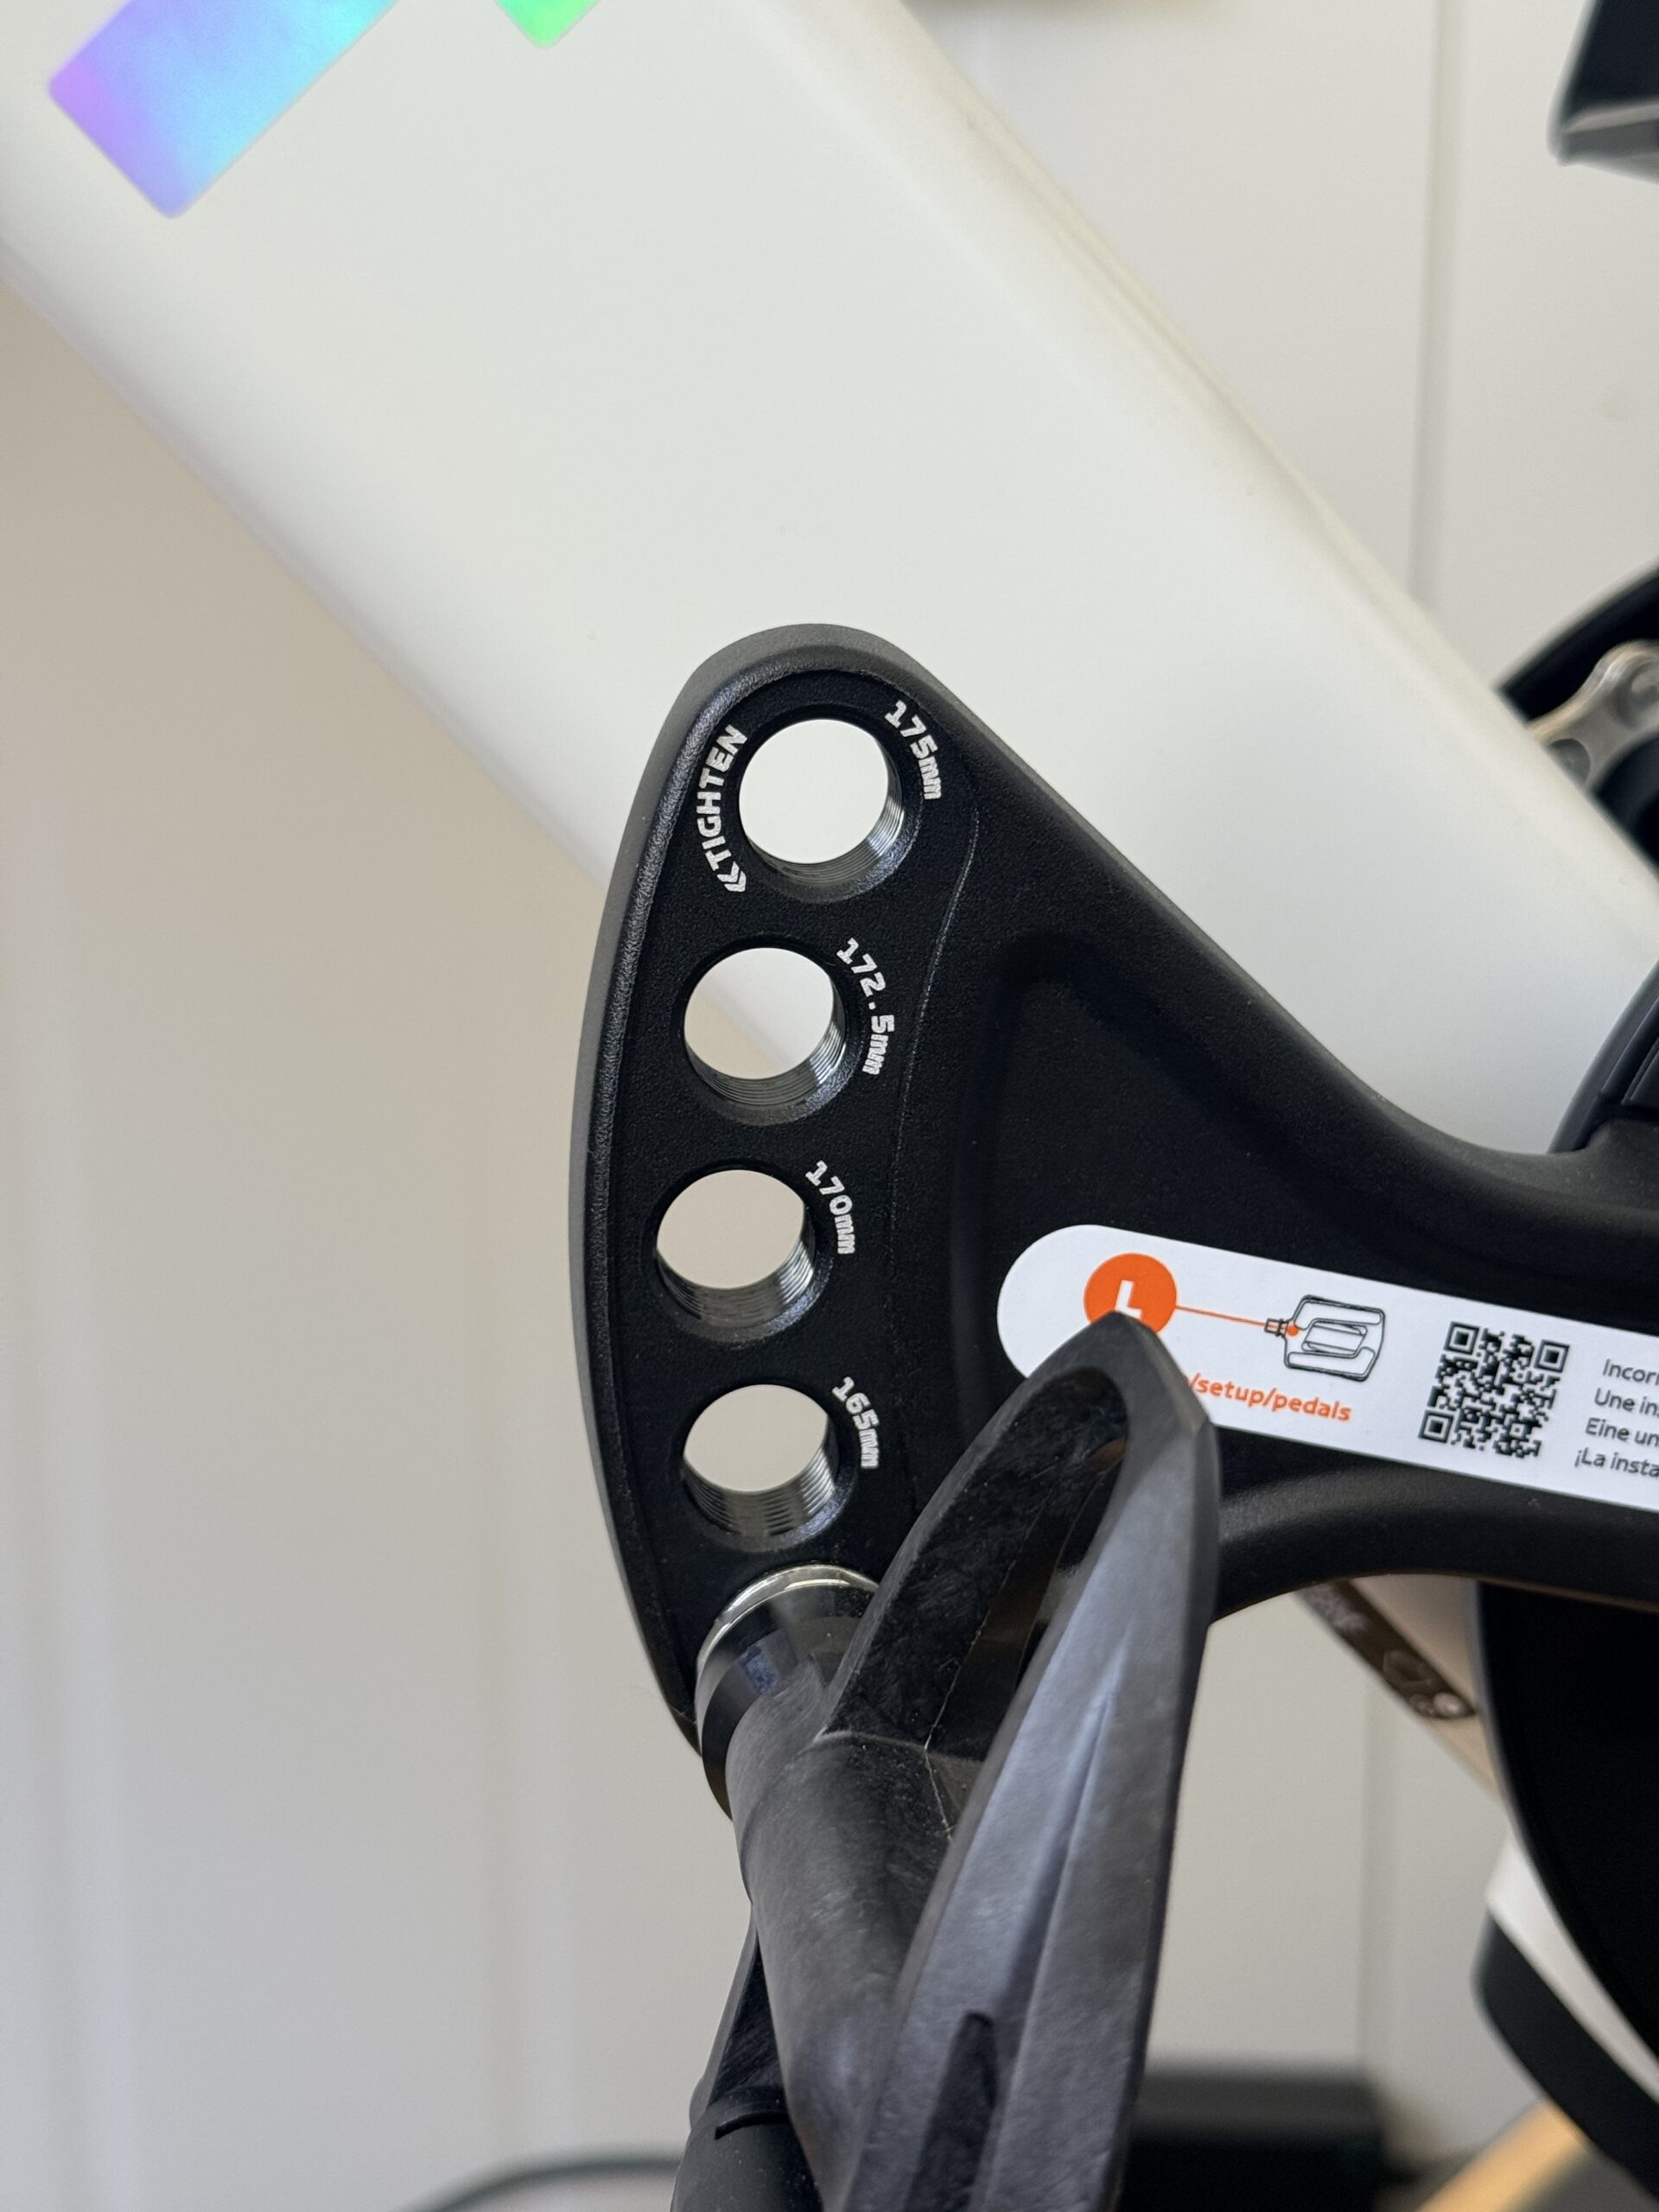
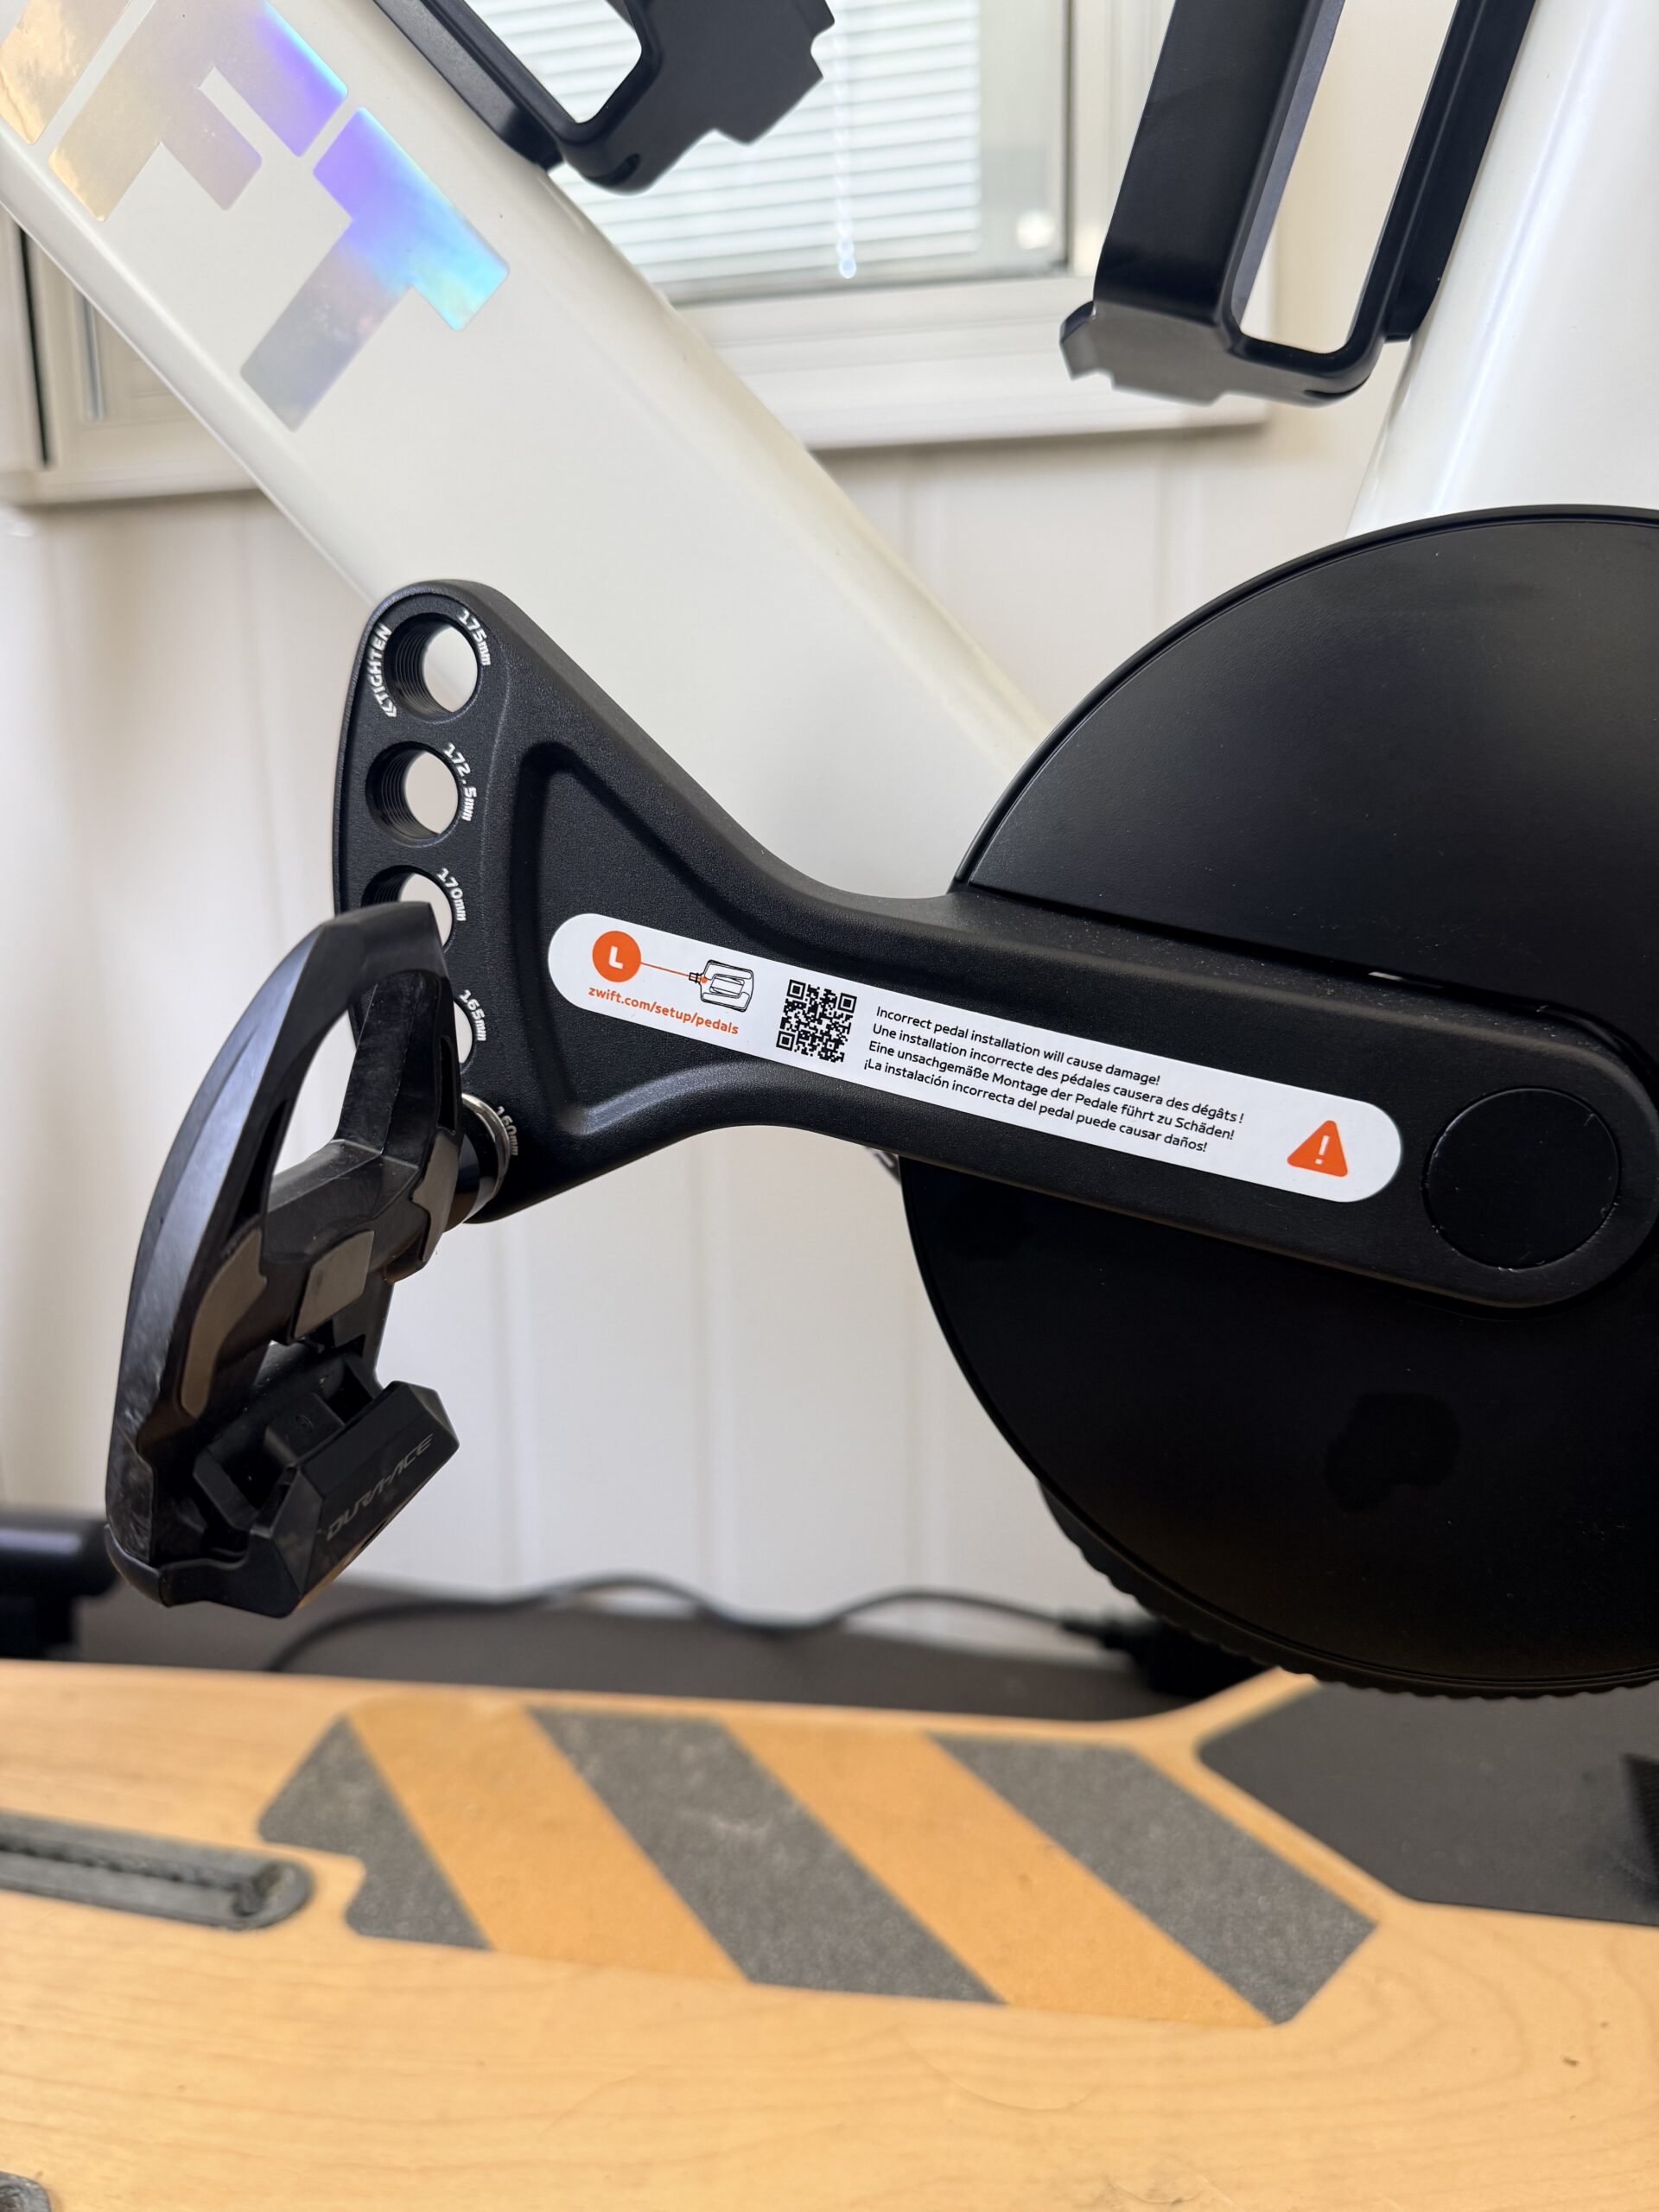
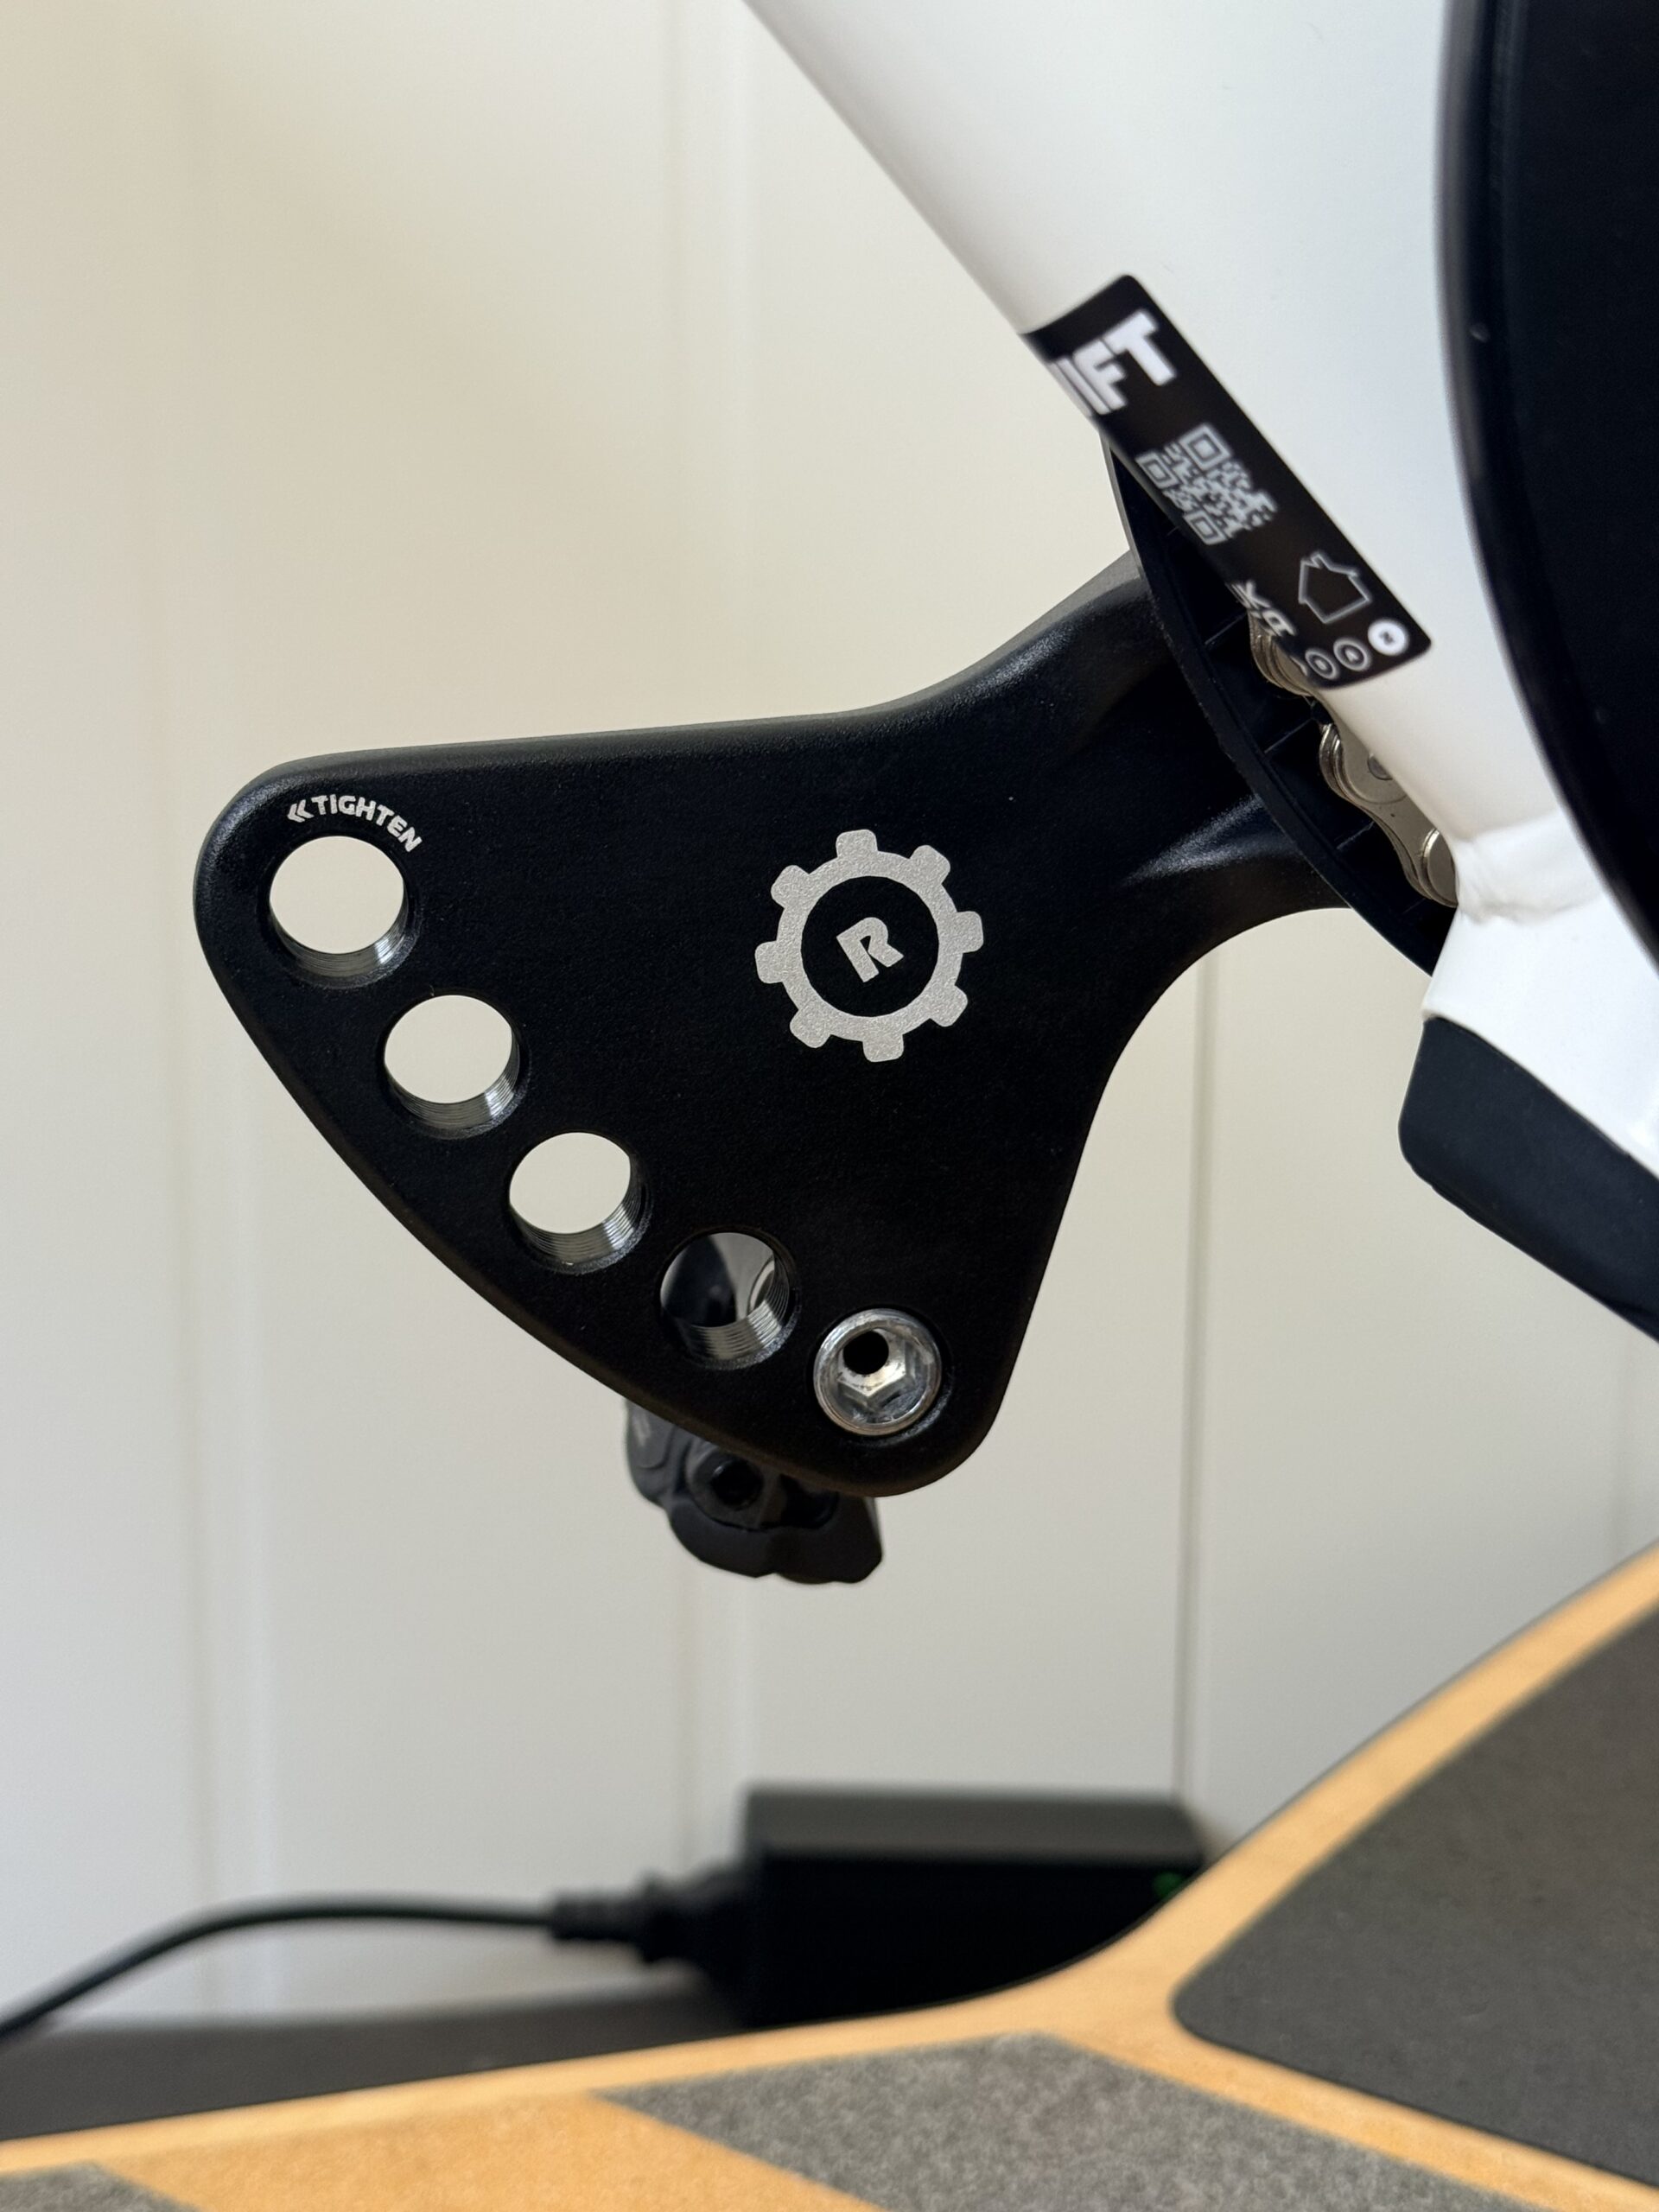
The Zwift Ride ships with 170 mm cranks as standard, and that single fixed length was the thing holding her back from riding more often and longer duration. Zwift’s adjustable crank arms fix exactly that. The upgrade kit runs $99.99 (with free shipping) and uses a “bearclaw” style arm with five labeled pedal positions, so you can run 160, 165, 170, 172.5 or 175 mm lengths simply by moving the pedal to the hole you want. It’s a clever, no-fuss way to get five crank lengths out of one part.
Dropping from 170 to 160 mm was the difference-maker. With the shorter cranks, my wife wasn’t just able to ride the bike, she was able to get properly dialed in, with a pedal stroke and reach that actually felt right. And, selfishly, it worked for me too – I already run 160 mm cranks on my outdoor bikes, so matching that on the indoor setup made the whole thing a no-brainer.
About That “Professional Installation Recommended” Note
Here’s where I’ll push back a little on the official line. Zwift strongly recommends professional installation and notes that the swap requires specialized tools. I understand why they say it. It’s a square-taper interface, and if you’ve never touched a crankset before, by all means take it to a shop.
But, if you have any experience with a crank puller, this is not the ordeal Zwift’s warning makes it sound like. Getting the original arms off and the new ones on was a straightforward, roughly a five-minute job: pull the old cranks, seat the new ones on the taper, snug everything down, set your pedals to the crank length you want and you’re riding.
I’ll be honest about one thing here: I didn’t use a torque wrench. After years of wrenching on everything from high-end road bikes to almost vintage square bottom bracket bikes, I was confident that hand-tightening the crank arms was sufficient, and my experience since has backed that up. I’ve now logged nearly 28 hours on the bike with these cranks, everything from 20-minute post-run cooldown spins to 90-minute efforts in Watopia, with zero issues: no creak, no slip, no drama. That’s my call based on a lot of time turning wrenches; if you’re newer to this, a torque wrench and Zwift’s spec are the safe way to go. But don’t let the “have a professional do it” language scare you off if you know your way around a bottom bracket.
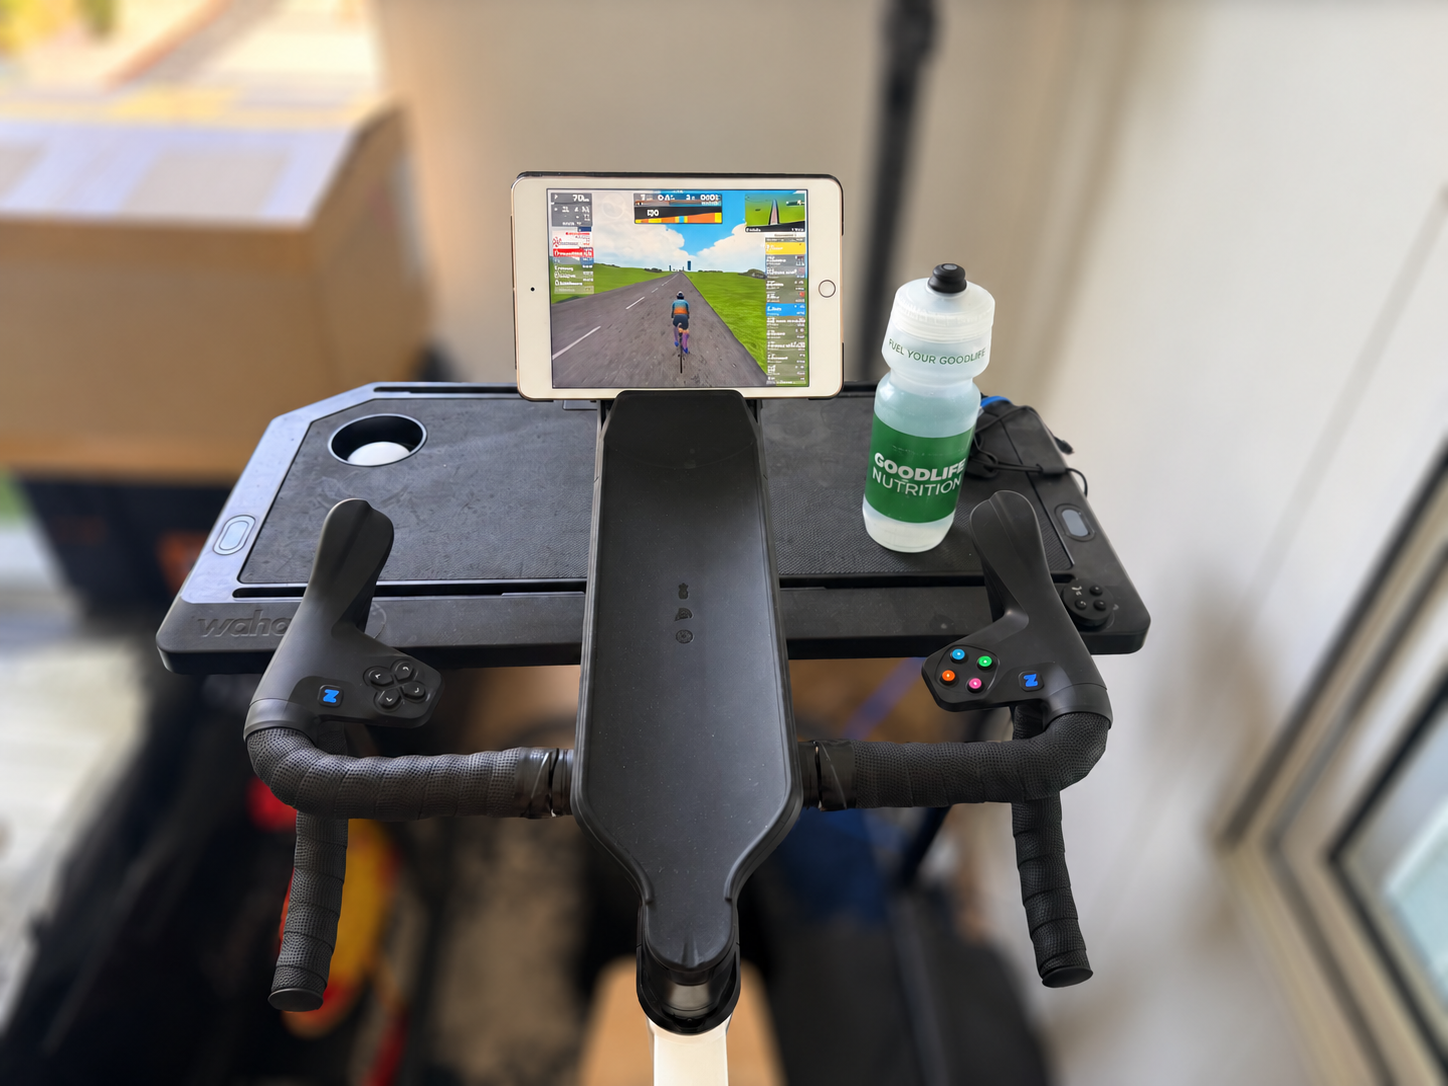
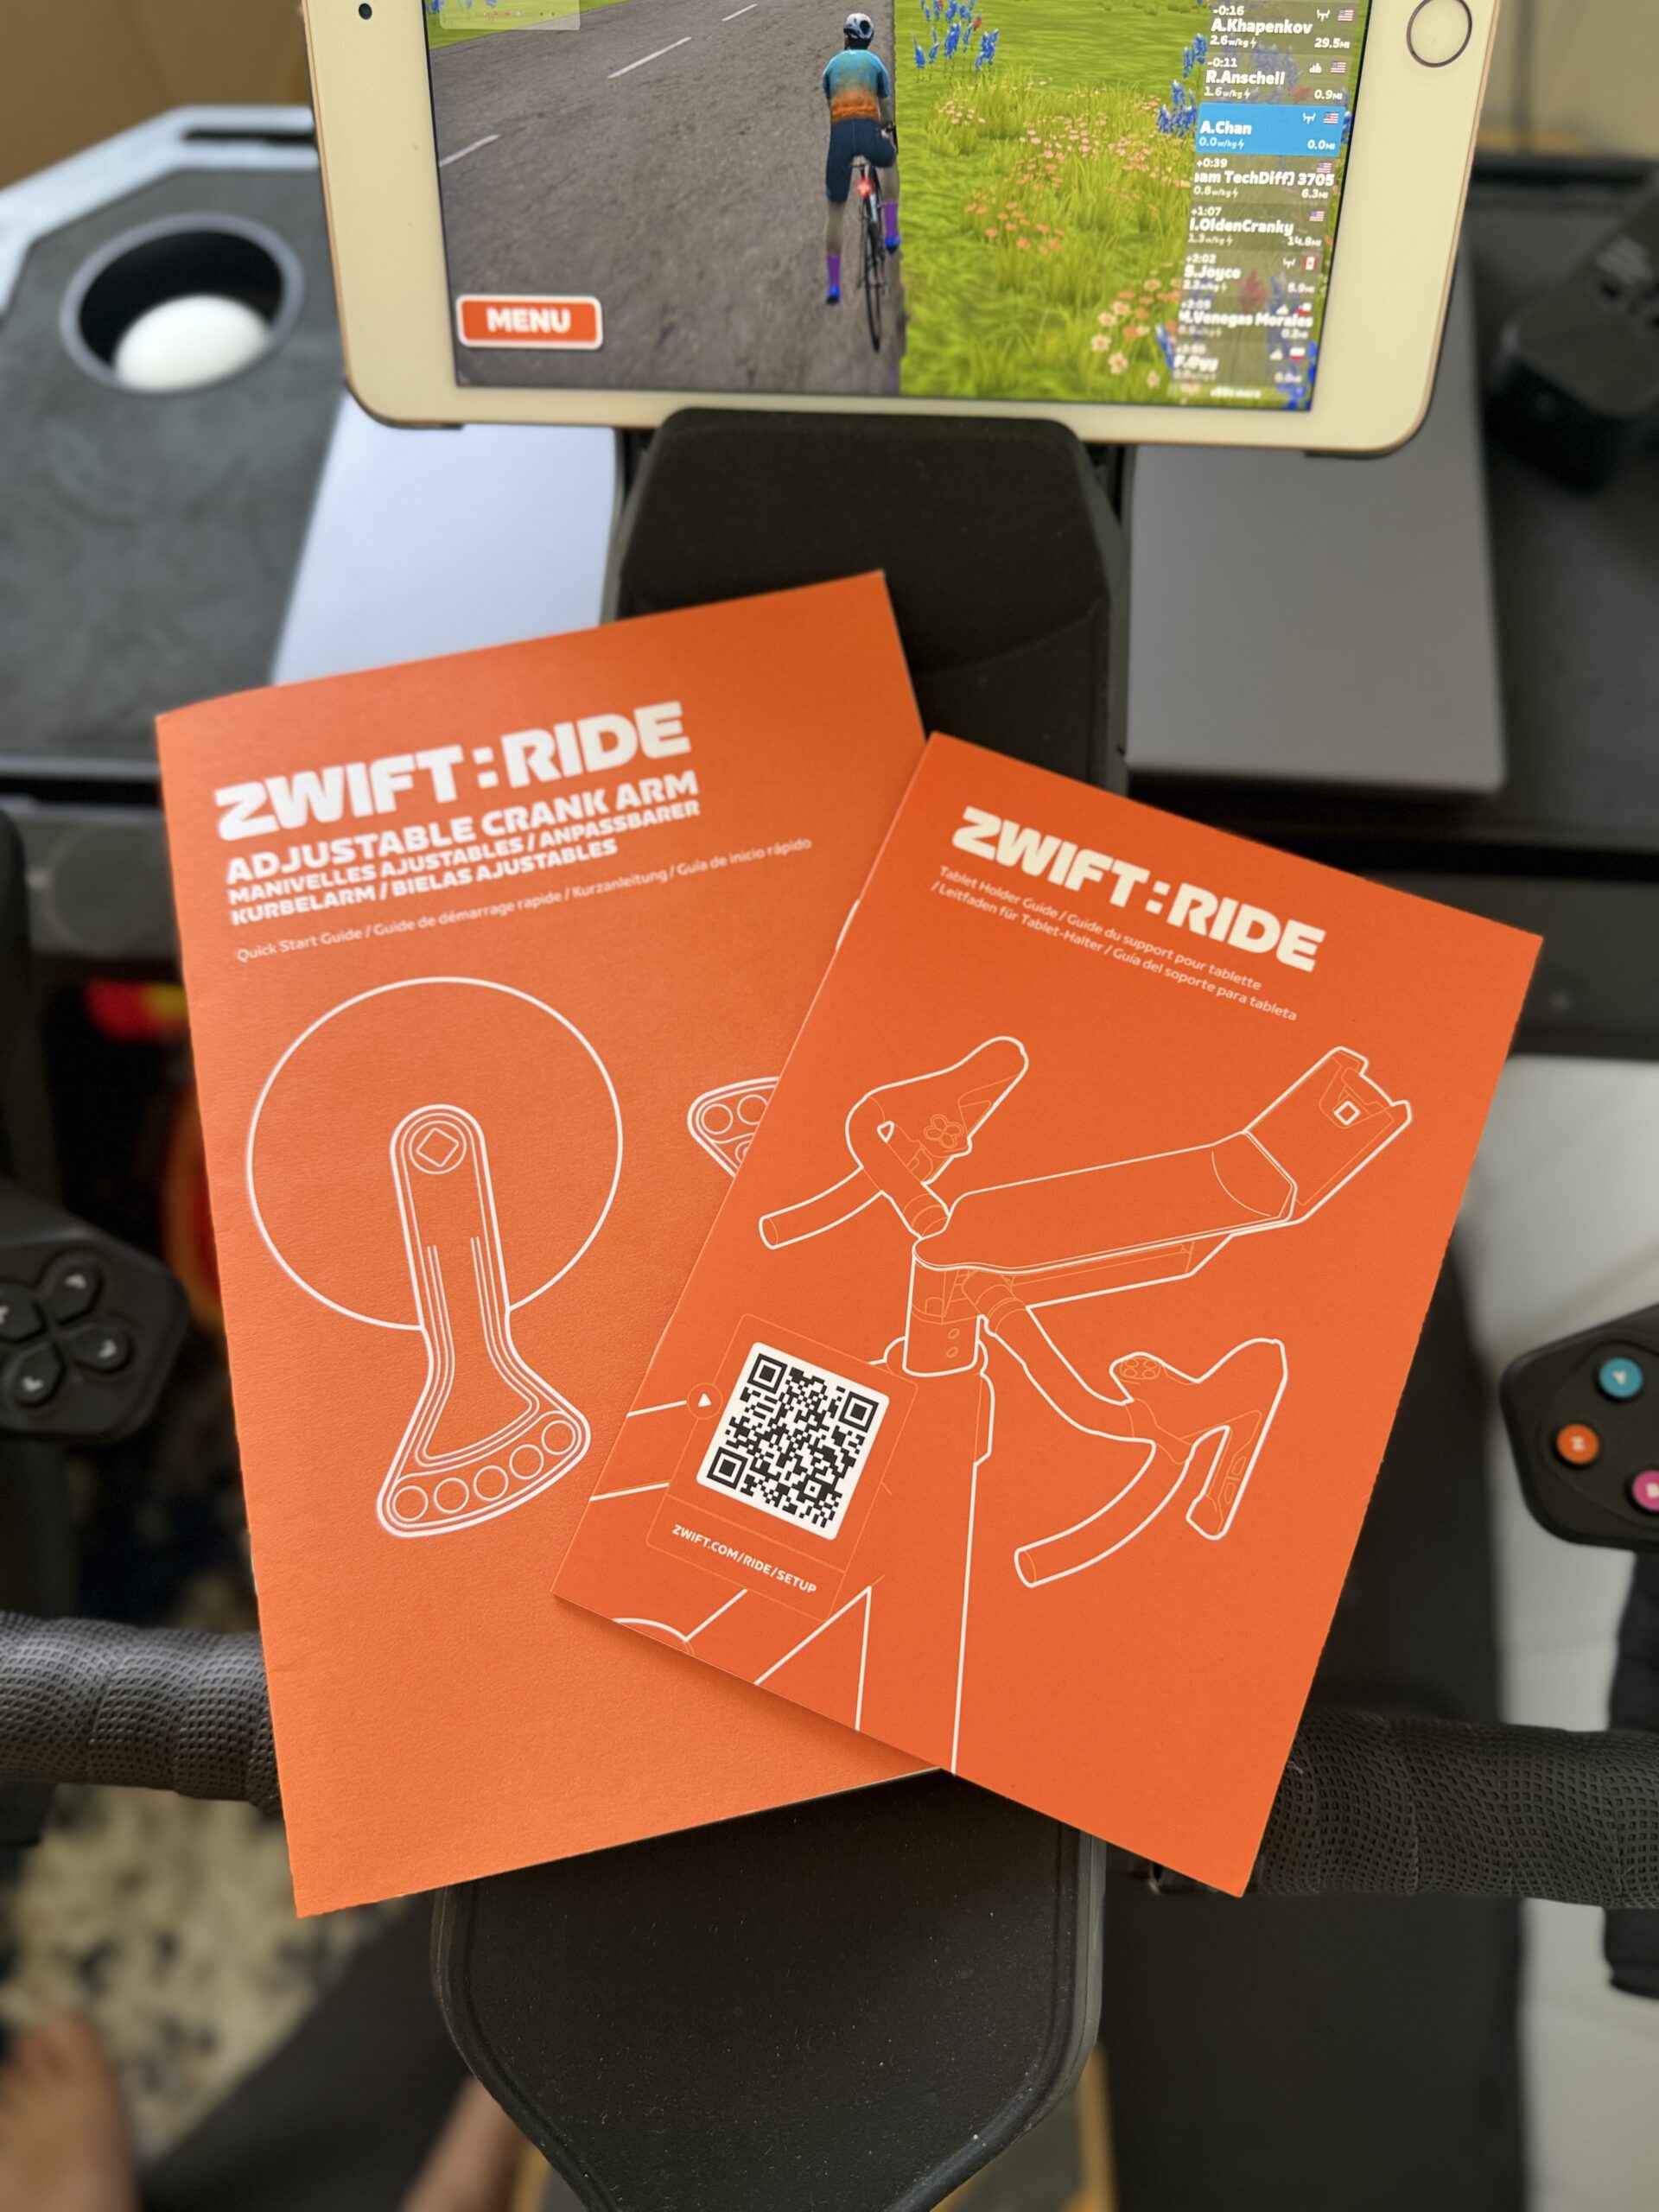
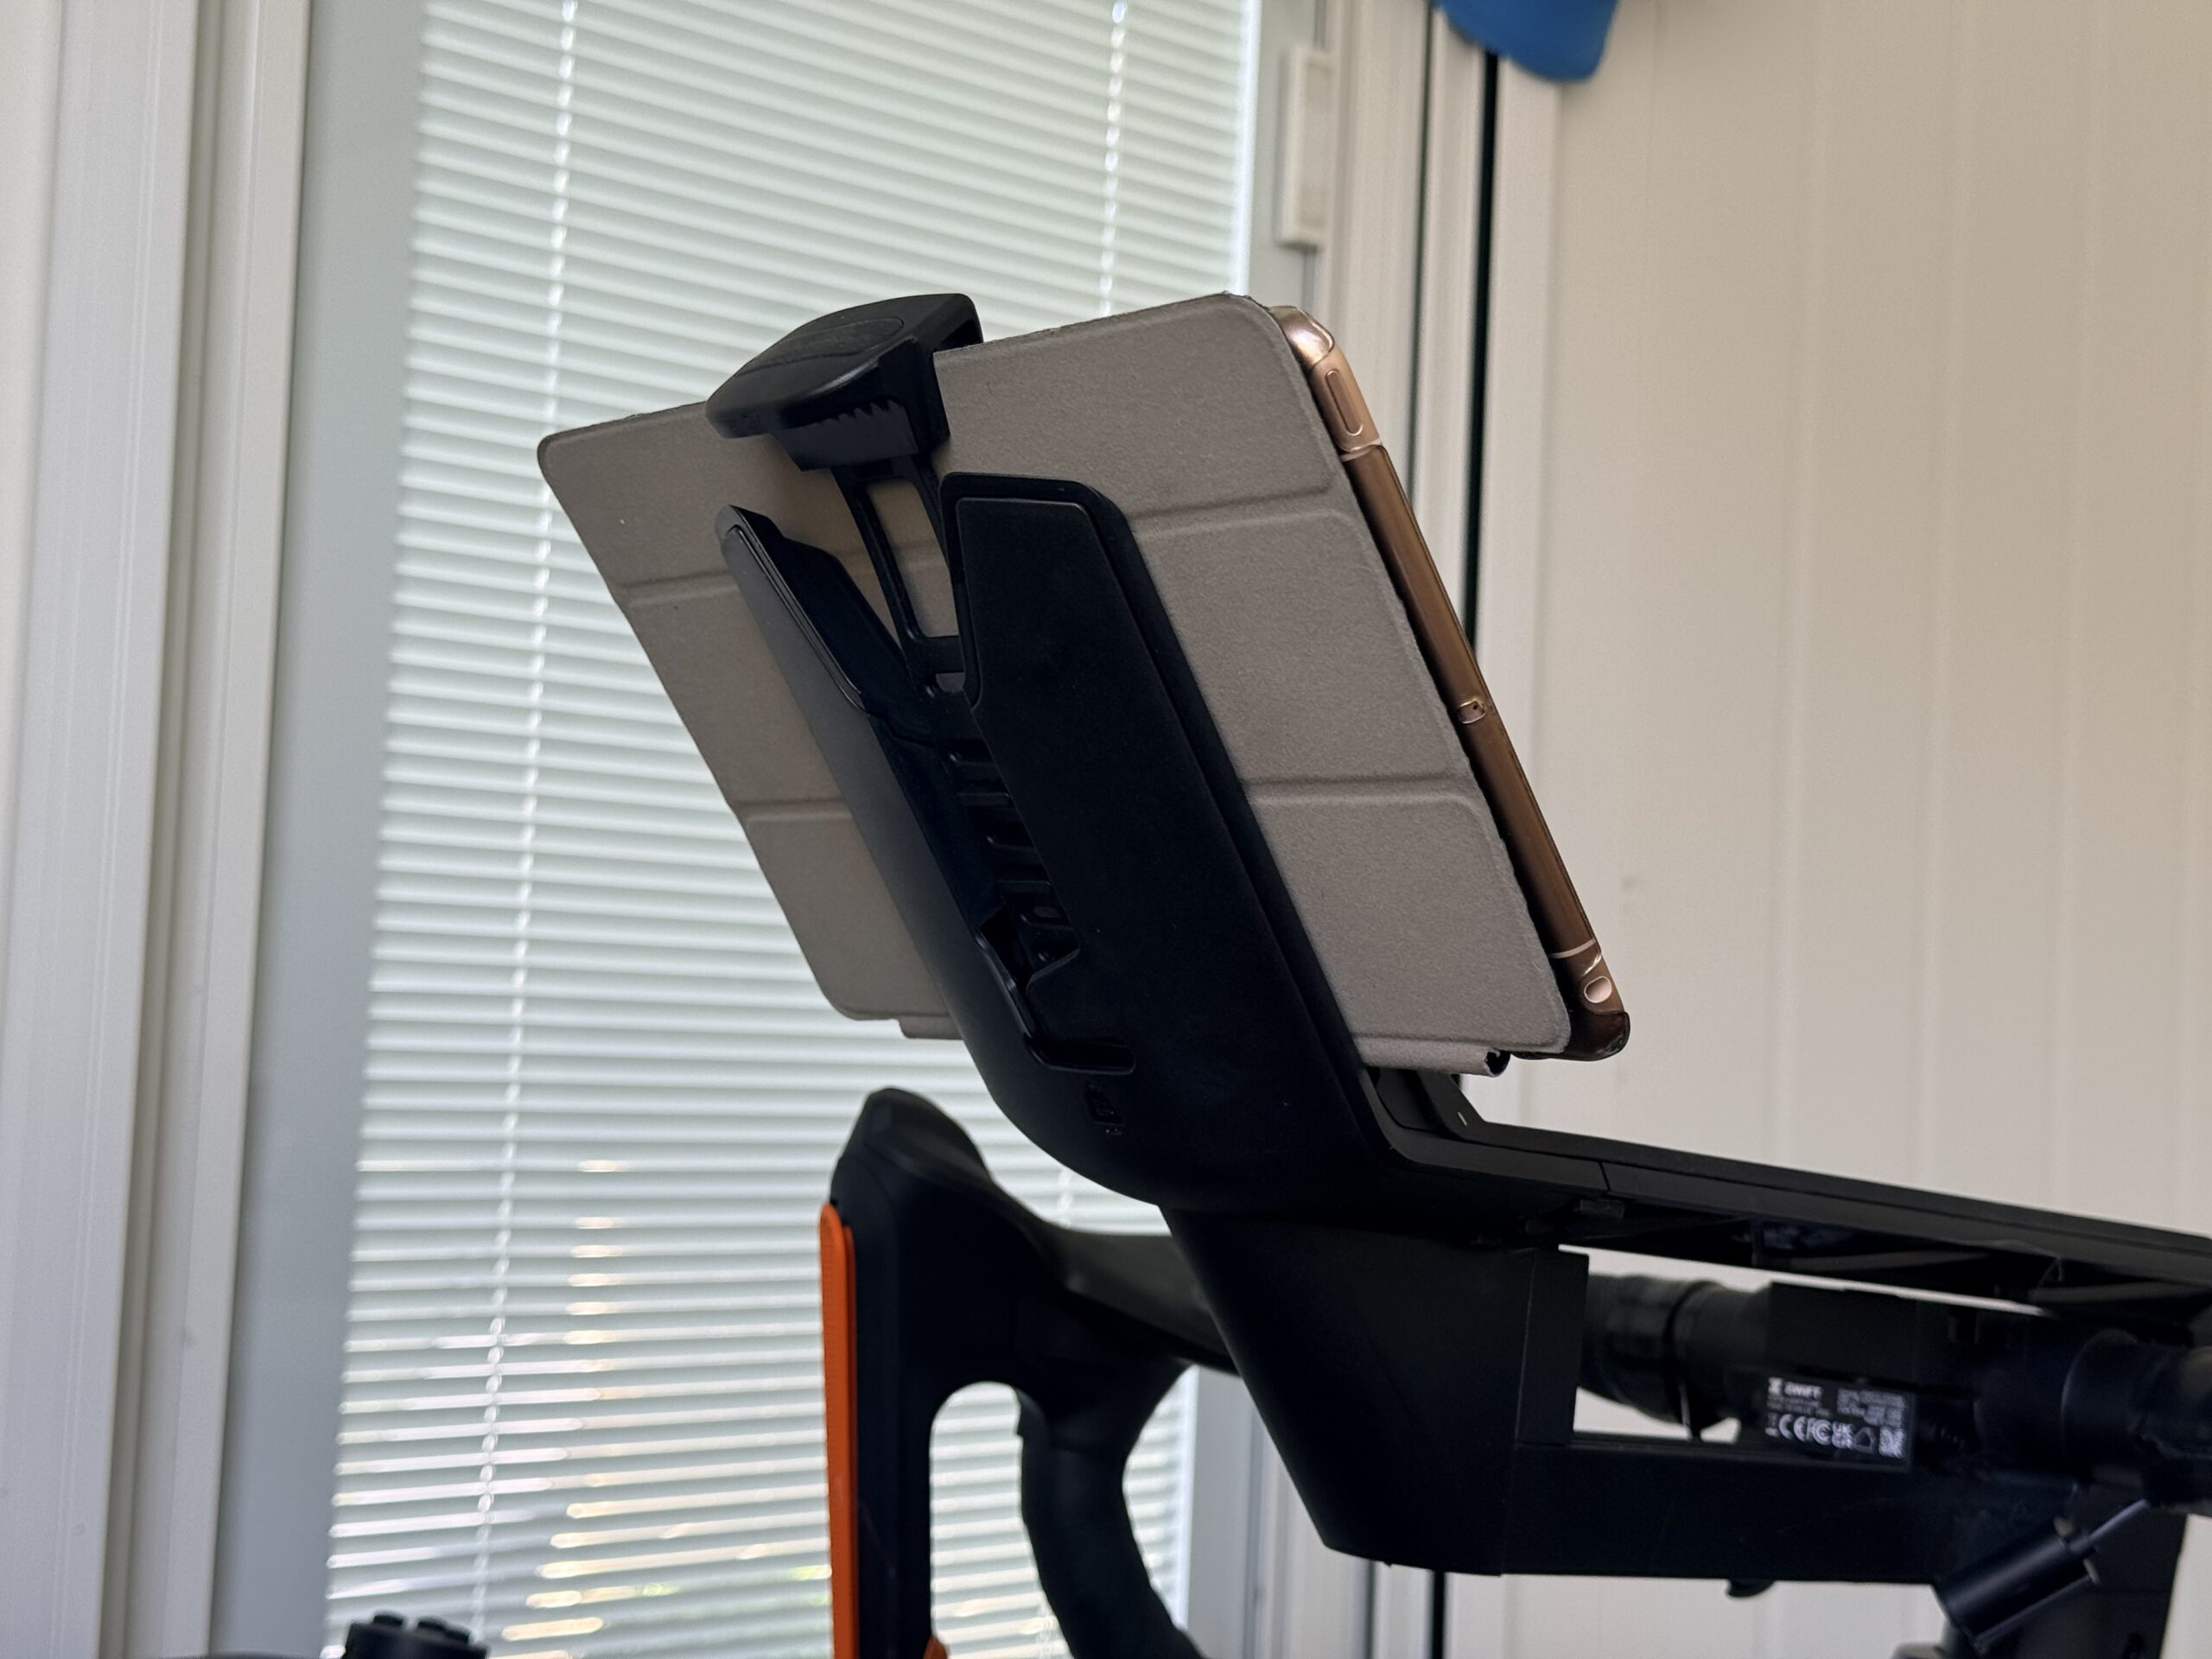
The Tablet Holder: A Small Upgrade That Punches Above Its Price
The second swap was the tablet holder, replacing the phone holder that comes with the bike. In the first review my “device situation” was propping my iPad up and hoping for the best. That works until you decide to get out of the saddle and rock side to side.
The tablet holder gives the iPad a permanent, dedicated home. It’s a simple part, $49.99, with an adjustable strap that fits most modern tablets, even with a slim case on, and a silicone finish that grips the device and holds it steady. It mounts cleanly and is built specifically for the Zwift Ride. The result is that my iPad now sits in an optimal viewing position every single ride, locked in by that silicone grip instead of balanced on whatever surface was handy. It’s one of those changes you don’t think you need until you’ve used it, and then going back feels like a downgrade.
Worth the Spend?
Both of these are accessories, which means both add to the bottom line. There’s no getting around that. But, whether you look at the cost individually or as part of the aggregate price of the whole system, the Zwift Ride and KICKR CORE 2 ecosystem remains genuinely price-sensitive for what it delivers. And when you factor in how little maintenance the setup demands, the math gets easier: you’re spending a little more up front to extend and improve every ride that follows.
Here’s how the all-in cost breaks down at full retail:
| Configuration | Components | Total |
|---|---|---|
| Base setup (as originally reviewed) | Zwift Ride + Wahoo KICKR CORE 2 | $1,299.99 |
| + Adjustable crank arms | Base + $99.99 cranks | $1,399.98 |
| + Tablet holder | Base + $49.99 holder | $1,349.98 |
| Fully upgraded | Base + both accessories | $1,449.97 |
Put another way, both upgrades together add about $150 to a setup that already lands well under what most dedicated smart bikes cost, and that’s before any sale pricing. For the fit and convenience they buy back, it’s an easy yes.
If you’re putting in serious training hours, and especially if there’s a second or third rider in the household, the adjustable crank arms are the upgrade I wouldn’t skip. They’re what finally made this a true shared bike instead of a setup that worked for one person and merely tolerated the next. The tablet holder is a smaller, easier call, but no less satisfying once it’s on.
These really are permanent upgrades. Once you install them, you won’t go back.


Start the discussion at forum.slowtwitch.com