
Long-Term Test: Is the Stages SB200 the Ultimate Indoor Riding Machine?
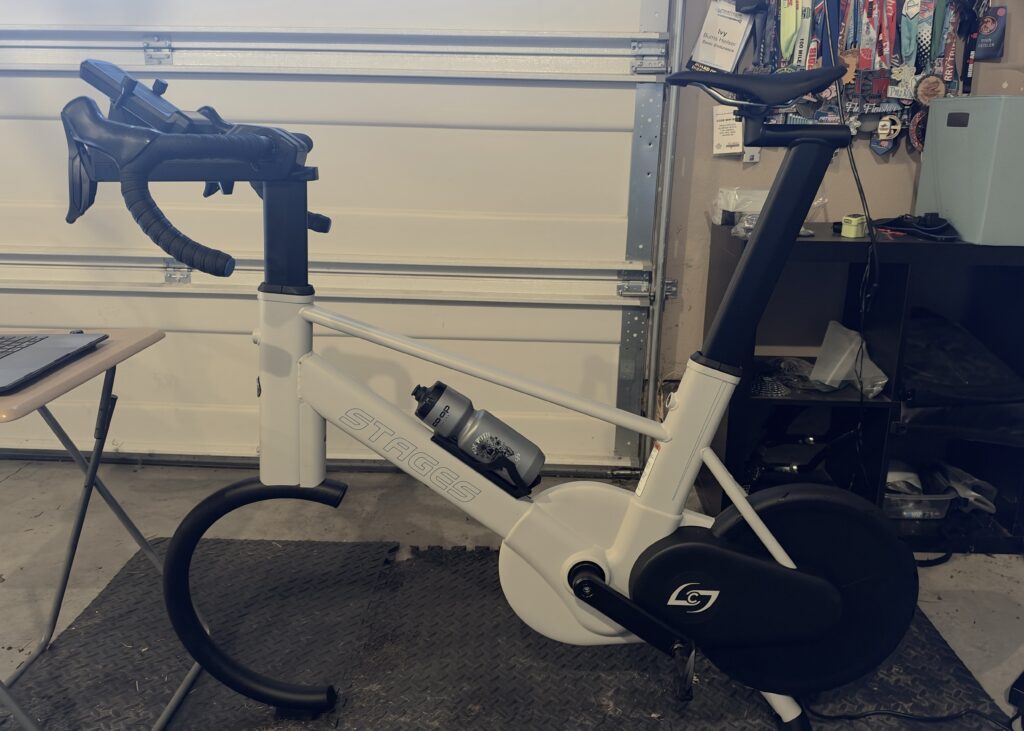
Serving as Slowtwitch’s unofficial Chief Indoor Riding Officer, I’ve put a lot of miles in on bikes indoors. From a basement in Connecticut to temporary housing in New Hampshire to the old Tundra Division log cabin and now the Pacific Northwest garage, it’s fair to say that 95% of my riding over the past decade has come inside. That also means that I’ve gotten to put a lot of products and platforms through its paces over that same decade. For instance, I’ve ridden multiple trainers from Elite, Tacx and Wahoo, tested five different powermeters, and ridden no fewer than a dozen indoor training platforms.
Riding indoors brings about a whole lot of unique challenges. There’s the matter of sweat rotting through parts, whether those are on the bike on a trainer or the trainer itself. There are the glitches of communication between the training platform controlling the trainer and the trainer itself (hello, old Zwift ERG mode death spiral). Bike shorts that work great outdoors may not be so great indoors. And, of course, there’s how critical the saddle is.
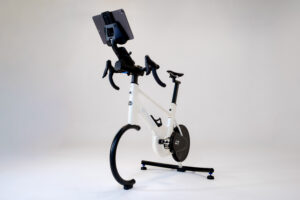
With that all said, though, me receiving a Stages SB200 last month would be my first experience riding a dedicated indoor training bike. Being quite honest, I was skeptical going in; I simply didn’t really understand the purpose behind a bike that you couldn’t take out on the roads. That’s especially true for somebody who, when I eventually toe an outdoor starting line, wants as simple a transition between indoors and outdoors as possible. I came away mightily impressed from the initial review.
“It’s not that it is radically different than riding your normal bike indoors,” I wrote. “It’s not. And that’s the point. You’re protecting your race bikes from the gallons of sweat and sports drink that only seem to wind up all over bikes when you ride them inside. It means not worrying about rusted out bottom brackets or snapping chains or corroded headsets. Honestly, if I were shopping for bikes these days and had a budget in mind, I’d buy one of these and then look at either a lower-spec new bike or a quality used one.”
But any product can impress out of the gate. The proof is in how a product like this handles miles and miles of use (and, frankly, given the lakes of sweat I leave behind after every ride, abuse). Now that I’ve put in a few big weeks in the saddle, and Stages has rolled out some additional features for the SB200, it’s time to see whether it was just a honeymoon period or if I’m still in love.
New Feature: New ERG Mode in Stages App
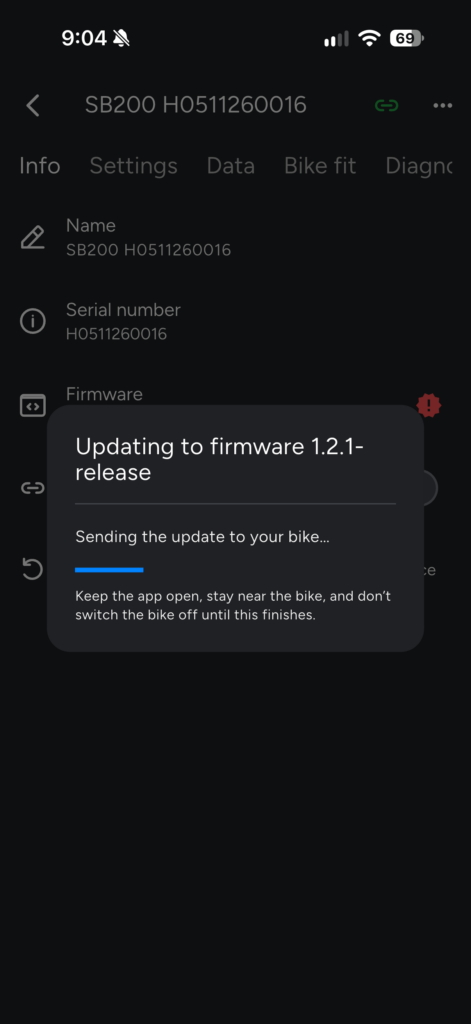
The biggest new feature since the release of the SB200 last month came about a week ago, with an update to the Stages Cycling App. This week’s release brings an updated iteration of ERG mode. For the uninitiated, ERG (short for ergometers) mode is the smart trainer setting that will adjust resistance in order to maintain a specific target power output regardless of cadence. It’s great for learning what a specific output might feel like, but it also means that you get a very unnatural riding experience. If you reduce cadence, the resistance increases, or vice versa. And heaven forbid if you stop pedaling to adjust a shoe or drink from a water bottle for a second.
Stages claims that the SB200 solves that problem by offering three new versions of ERG Mode. Essentially, each one of these Modes dictates how quickly the bike will change resistance in order to match the required output. The faster it reacts, the more strictly it is adhering to the workout, but also the more likely that the ride feels entirely artificial to you.
The three new offerings are called More Controlled, Controlled, and Less Controlled. More Controlled is basically just the standard ERG setting that most of us all have come to either love or hate (or, in my case, love to hate). It’s really good at very short intervals (say, Tabata’s or 30/30s), but it’s very artificial in feel. Controlled, meanwhile, starts to split the work of sticking to a given target between the bike and the rider. Accelerations, for instance, give more power above target than the More Controlled setting, just like it does on the road. Stages says this is the best setting for most structured workouts. Less Controlled gives even more outdoor road feel, allowing for riders to move cadence around more naturally without immediately sticking to a direct target watt number.
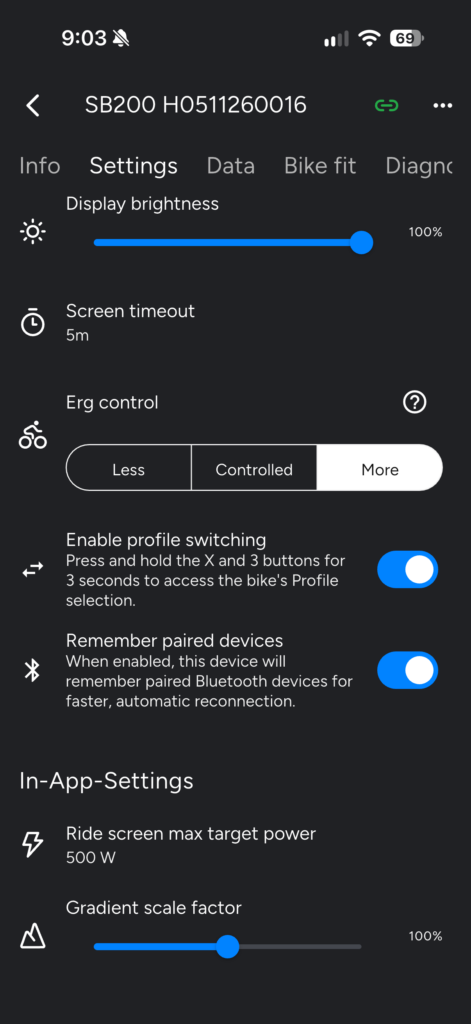
You access the ERG Mode Selector in the Stages App. Make sure you’re connected to the bike, go to Settings, and scroll down to the selector and choose your preferred option. Having tested the three settings, they are all quite distinct from one another. Given that just about the only time I’m ever in ERG mode is for very specific short interval training, I think I’ll leave the SB200 in More Controlled. By comparison, for a lot of athletes that I have coached who prefer to execute structured training rides, I think they would be most likely to use either Controlled or Less Controlled.
In summary: it works. Just as it should.
Riding the SB200 with Your Preferred Indoor Platform
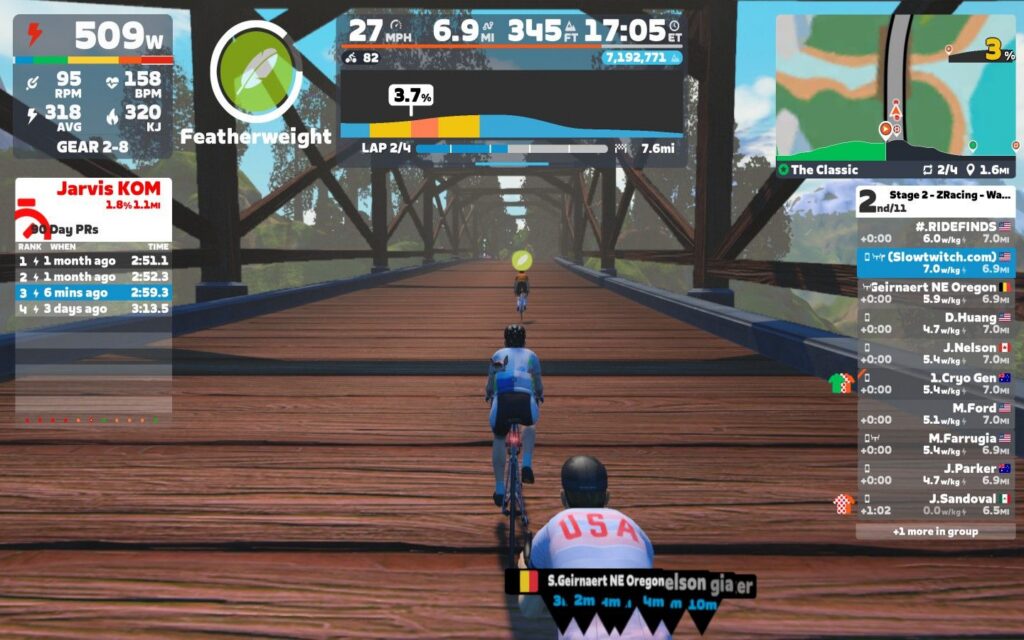
Although the Stages app allows for workout controls and ERG mode, it’s safe to say that the majority of riders will wind up choosing to pair the SB200 with a virtual platform. As such, the SB200 allows connections via five different protocols:
- Bluetooth Power (clean)
- Bluetooth FTMS
- Zwift Protocol (BT/WiFi)
- Open Bike Control (BT/WiFi)
- WiFi: Power meter & trainer control
I chose to run the SB200 through my two preferred indoor platforms: Zwift and TrainingPeaks Virtual. That would allow me to make sure that the bike worked seamlessly with both platforms, as well as being able to try out Zwift Plus and its new real-world rides.
For either platform, I use my old reliable MacBook Air to run the controllable software. It’s an Apple M1 powered computer with 8 GB worth of RAM available. It’s powered just about every article you’ve seen from me here over the last six plus years, as well as every single one of my indoor rides since it came home. The battery is starting to get a little long in the tooth, and I can’t have 50 tabs in four different browsers open and run a cycling platform at the same time, but all things considered it does what I ask of it. It meets the standard I look for: it just works, and I don’t have to think about it very much.
If you’re going to ride either platform, and are essentially riding them as intended (meaning, you know, real world simulation and whatnot), you first are going to need to build a virtual bike to use in game. This will allow you to choose your gearing and how the buttons will react. For Shimano users, the default for the shifters is for them to work like Di2. For SRAM users, they work like AXS. That means very different experiences, especially if you choose to have a front derailleur on your SRAM application. They also have different default chainring sizes; Shimano is a 52/36 virtual chainring, whereas SRAM is 50/37. No matter what you choose, it does a very good job simulating the shift profiles you would expect.
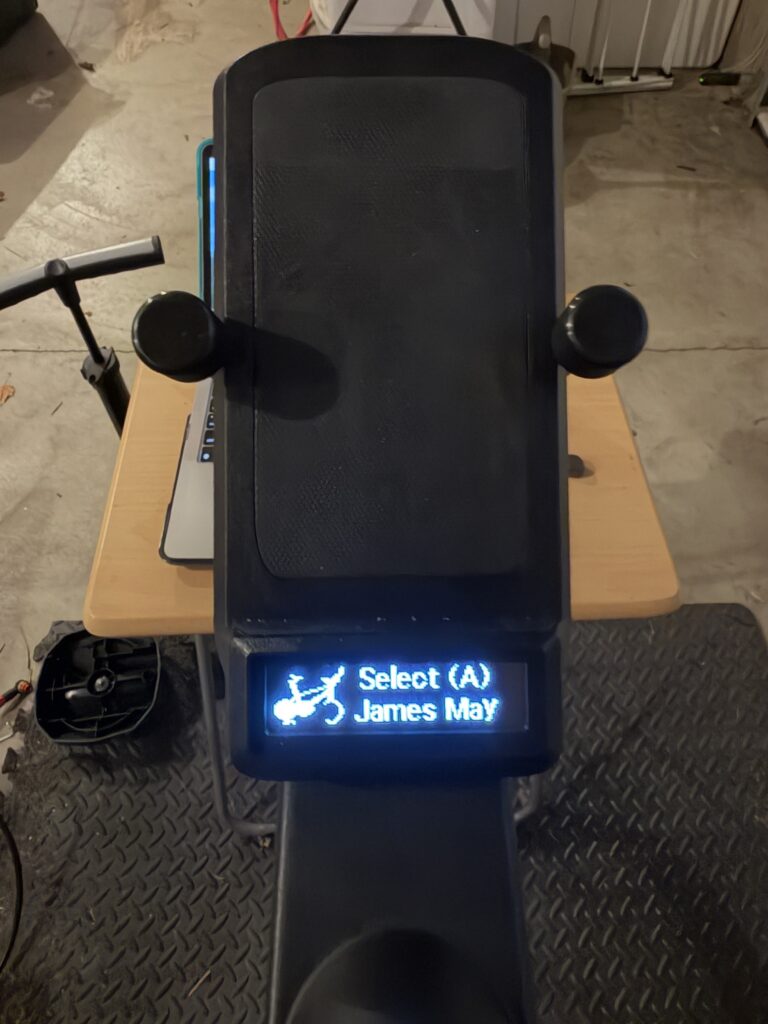
I have built out one main profile that I use for nearly all of my rides, which I’ve dubbed James May (as it is STANDARD). It’s a Shimano based shift profile, 52/36 chainrings, and an 11-28 11 speed cassette. Why this combination? Because that’s what was going to be on my outdoor bike for California in October. That and I’ve come to like having a front derailleur again. Eventually, I’ll build a 1X that I’ll dub Hammond and a big gear profile that I’ll name Clarkson.
As for the platforms themselves, with TrainingPeaks Virtual, the SB200 passed with flying colors. The thing connected every time without fail. It’s also in part thanks to the series of virtual bots as additional riders and the additional road feel simulation that the platform offers that it mostly keeps the SB200 to a slightly more limited watt output range. To be clear, that’s not the bike; it’s that you don’t have people sprinting at 9 watts per kilo in a race at the end of things, so you don’t see the same giant power spikes at certain points on TPV.
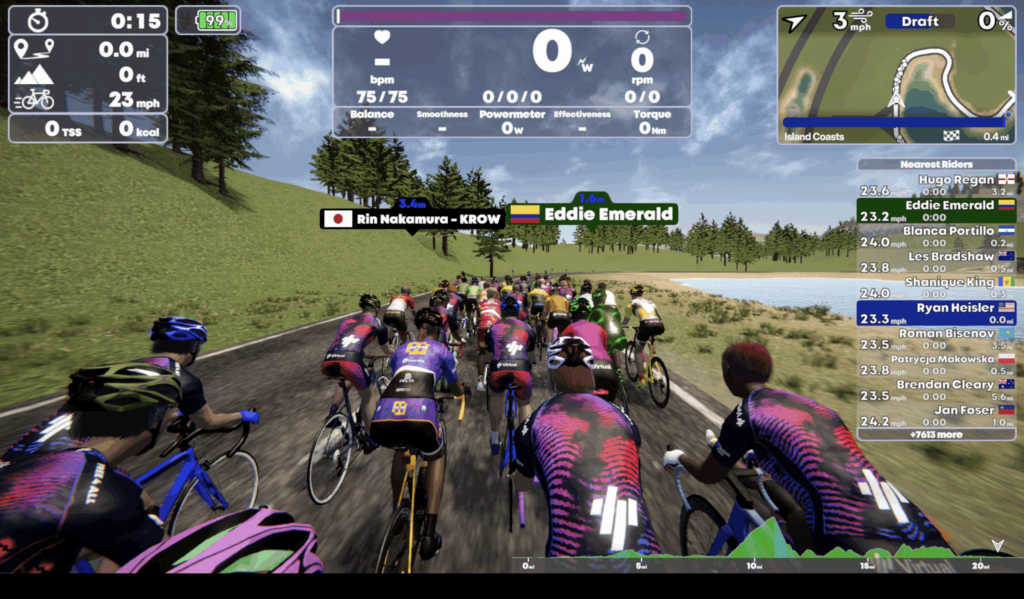
Zwift I would say featured more extreme testing with both longer and more varied rides. Zwift was also where I saw the one connection hiccup between the SB200 and my computer. Following the most recent firmware update, I simply could not get the SB200 to connect to Zwift. As it turns out, my computer thought that the bike was a different device with the same name after the update. Forcing it to forget the bike, and then power cycling the SB200, got it to work. Unfortunately for me, it meant I missed the event I was targeting, but in the grand scheme of things, I can’t really blame the SB200 or Zwift for this one.
Otherwise, the SB200 got asked to do a lot of varied things in Zwift. I raced a fair amount and learned how to suffer in sprint finishes, or survive long grinding uphills. I rode for over two hours and sweat out an easy nine pounds in the process, leaving plenty of puddles behind. It handled it all very, very comfortably. The saddle is a damn revelation for me; I don’t think I’ll ride anything else inside ever. And the ride remains smooth, shifting flawless, and overall quiet to ride.
The Mechanical Niggles: The Squeak and a Loose Belt
As I wrote about in my initial review, there was one thing that interrupted just how quiet the SB200 is. And it was a mind-numbing squeak that I simply could not identify as to where it was coming from. I assumed that it was from the front wheel assembly or the bottom of the wheel on the mat that I use under the book. I was almost right.
It turns out that there were actually two squeaks coming together to create one megasqueak. The first was the plastic cover for the electronics wiring. It simply hadn’t seated quite right, and the rub of plastic against metal was giving all sorts of fun noises.
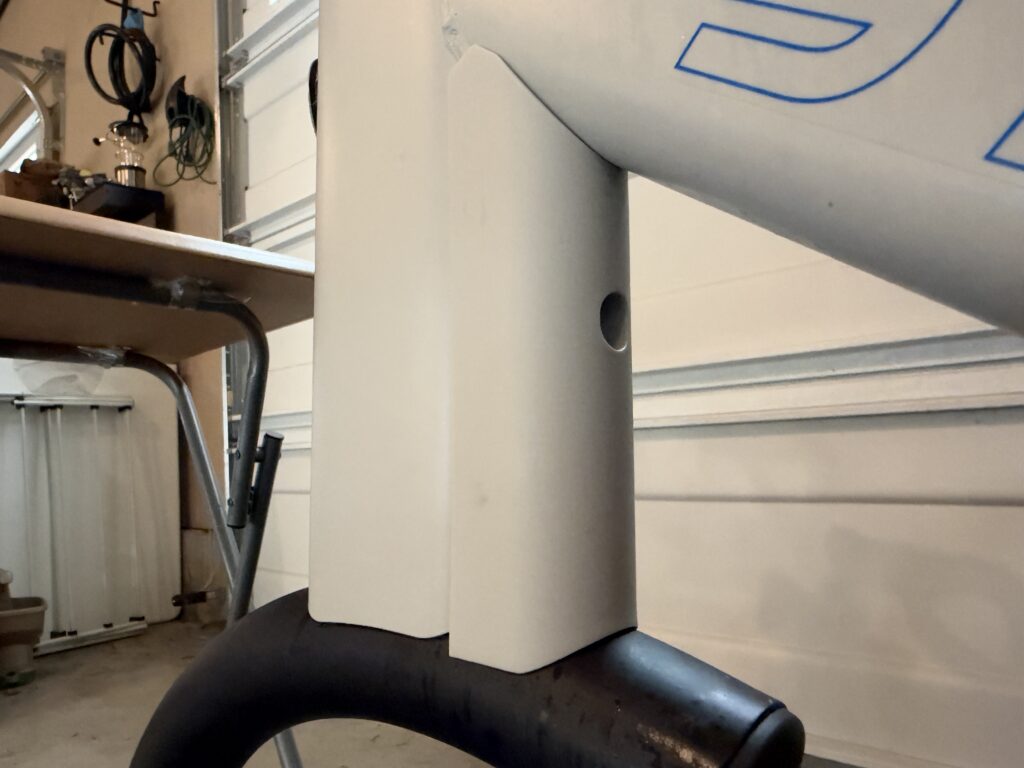
The second was the screw that holds that front wheel onto the rest of the assembly. A tightening of that to the required torque has quieted the bike in everything but the biggest of sprints.
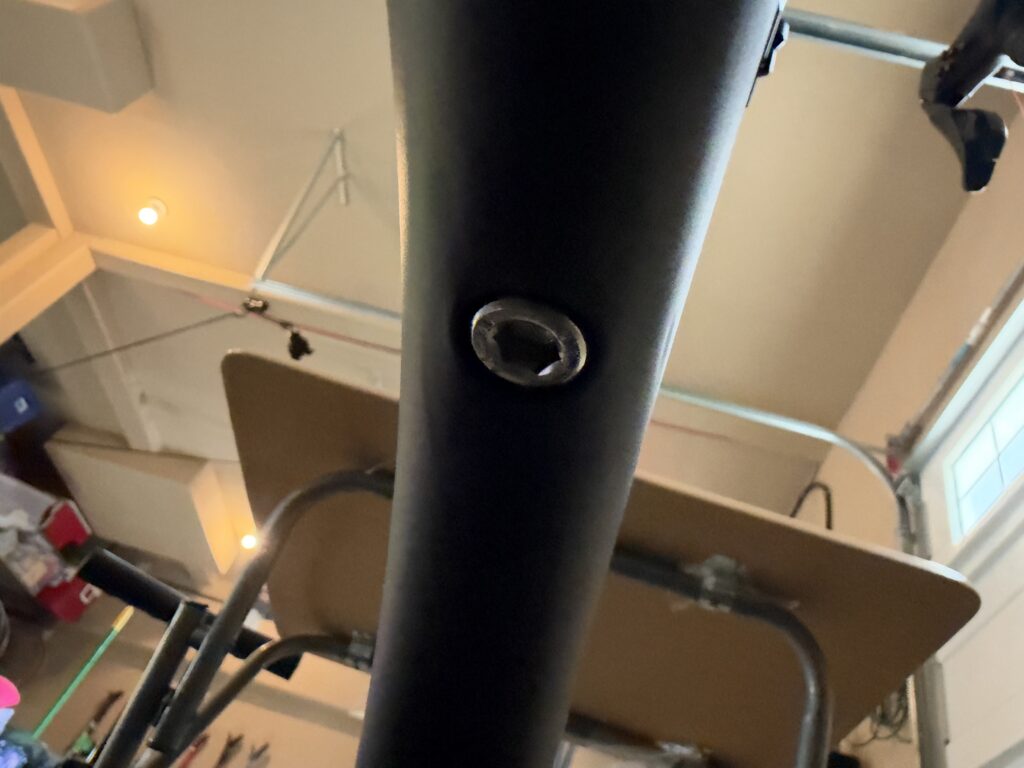
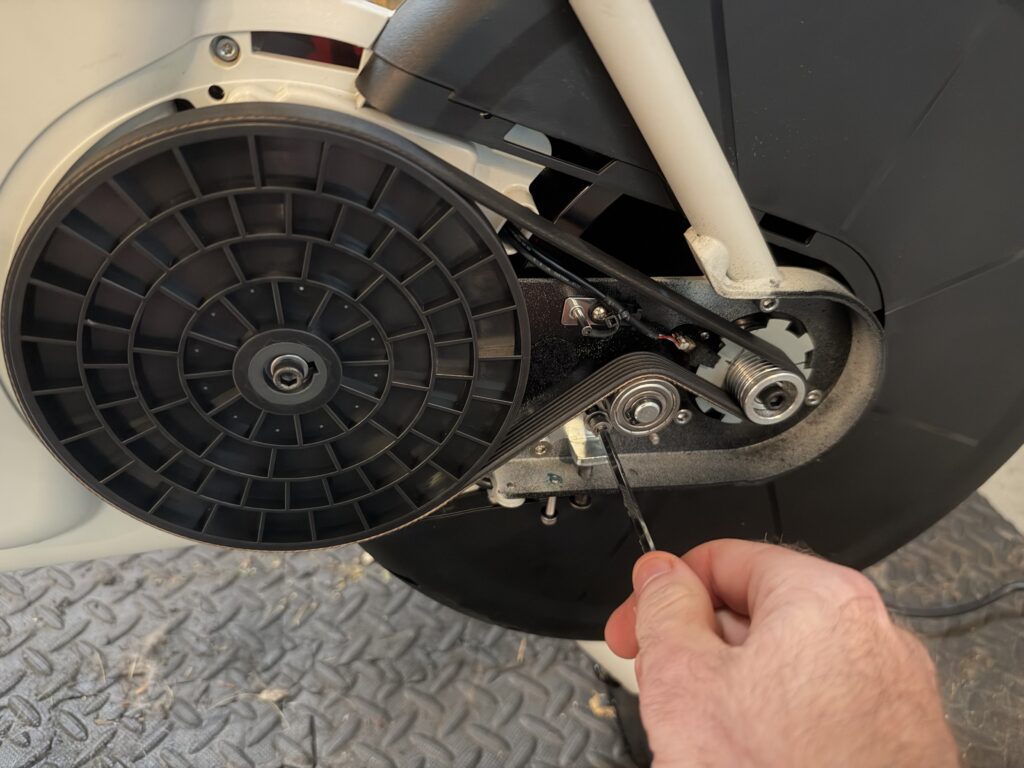
And speaking of sprints, that’s the other minor mechanical issue that has popped up. After a particularly challenging ride on Monday this week, I opened up the Stages app to find a “Belt Loose” warning. Following a conversation with Stages, they recommended that I tighten up the non-drive side belt of the bike. They did say that I shouldn’t notice it in regular riding, just in big sprints. Unfortunately for them and for me, I pretty much sprint every time I’m on the bike, so I decided to take immediate action. Tightening the belt requires two hex keys (a 3mm and a 4mm) and patience to snap the plastic cover back into place. It took me two minutes to follow the instructions and tighten the belt up, and another five to finagle the cover on.
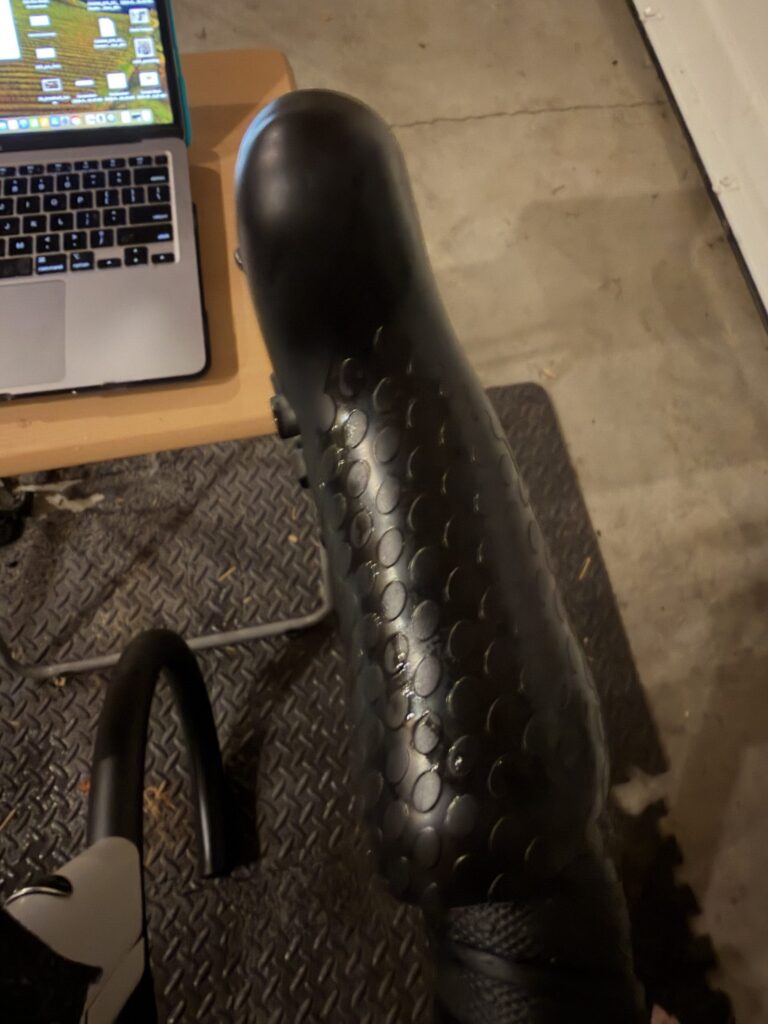
I am also yet to figure out a solution for just how slick the grips on the hoods wind up getting after 30-40 minutes of riding. I typically like to sprint from the hoods instead of the drops as it means the power-up buttons are still in reach (and as my mediocre results can tell you, I can use every piece of help I can get my paws on). The rubber on the hoods simply gets slippery, which requires me to run a towel over them just before getting into the final mile or so. Still, I’ve missed a race move or two from trying to do that. I may throw a quick roll of hockey tape over the top to try and get some extra grip without dramatically altering the size of them, or adding some golf grip tack to the rubber itself.
But, let’s put these maladies in context. I’ve ruined chains after three months of indoor riding. I’ve destroyed bottom brackets in that amount of time. And my wife has snapped the drivetrain belt on a trainer or two before. The extent of maintenance work I’ve had to perform on the SB200 is small potatoes by comparison.
Who Should Buy an SB200?
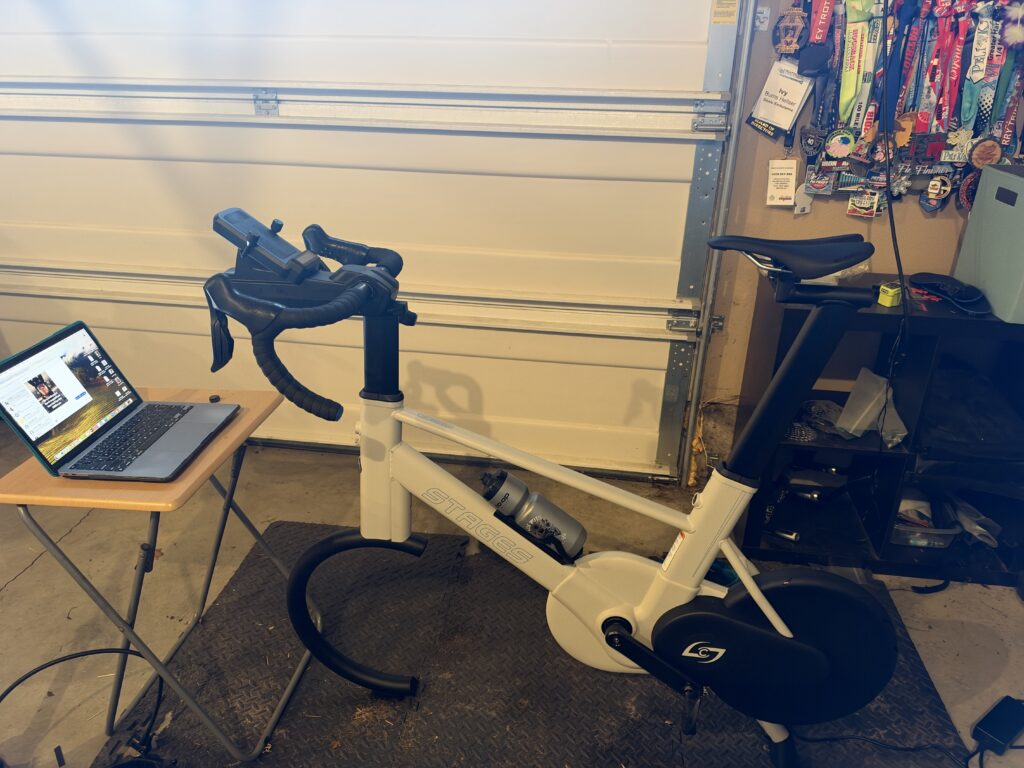
I remain very impressed by the Stages SB200. It is truly a great tool for indoor riding across whatever platform you choose to utilize it. And it’s been a nearly drama-free ownership experience to date. The most stressful item was that Bluetooth error that caused me to miss a Zwift race, and that could happen on any device at any point in time.
So, it comes down to who this thing is actually for. Let’s start by narrowing the pool: if you don’t have a dedicated place you can put this thing, I don’t think an SB200 is for you. Even though it is dramatically lighter than the prior iteration, the SB200 is still heavy. Once you get through the build phase, I think you’re going to leave it wherever you set it up. If you’re someone who is constantly moving your trainer in and out of spaces to get things done, I think it’s going to be a challenge to have an SB200.
I do also think that you need to have some minor degree of knowledge of how bikes operate and how to maintain them, as evidenced by both the assembly experience and by the need to tighten the belt. You’ve got to at least know your way around some hex keys, how to adjust the bike to your relative fit range, and feel comfortable enough to troubleshoot things from time to time. Now, perhaps in the future, that’s a service that Stages (or a distribution partner) can add on, similar to what some direct-to-consumer bike brands have done.
Now, let’s say that you meet that criteria. If you want something that is dead quiet, low maintenance, and won’t chew your regular outdoor bike apart, the Stages SB200 is a great option. As I said before, if I were in the market for bikes at the moment, I would look to take part of my budget, put it towards an SB200, and then go shopping with the remainder. Example: let’s say you had a budget of around $9,000 for a new bike, I’d take the $2,400 for an SB200 and put the rest into, say, a Quintana Roo X-PR with Di2 and race wheels that I can get for under $6,500 right now. And I still come out under budget.
That makes a lot more sense to me than putting a very pricey bike on a trainer and chewing through components. And, besides, I’ll be doing more of my racing inside to begin with; I might as well have the best tool I can for that job, too.


Start the discussion at forum.slowtwitch.com