Mavic hub How-To
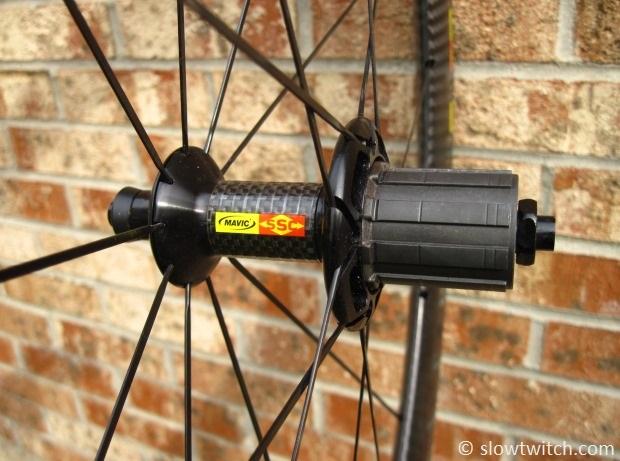
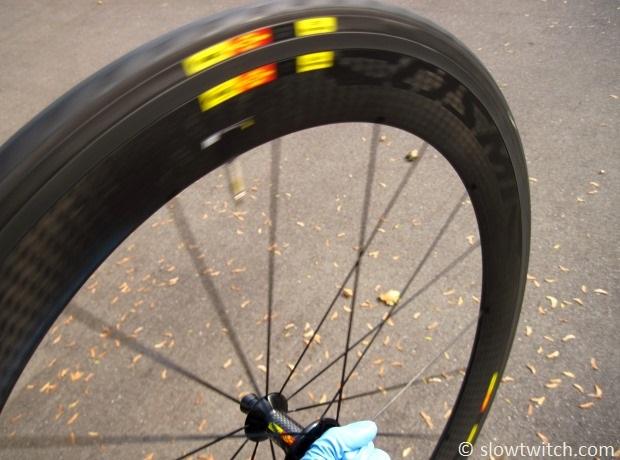
Today’s tech-tastic article covers the standard service procedure for common 2013 Mavic rear hubs. The wheel I’m working with is a CXR 60 clincher, but the same process applies to other wheels such as the CXR 80, R-Sys, Ksyrium Elite/SLR/SLS, Comete rear disc, and Cosmic Carbone 80/SLE.
Even if you own an older or different model of Mavic hub, chances are that the design is similar to the wheel I’m working with today. The Mavic two-pawl system has been around for a while, and it works.
Here are the tools and materials you’ll need:
-5mm allen key
-17mm wrench
-Needle nose pliers
-Freehub lubricant
-Rag or shop paper towel
Note: We are not covering a full bearing replacement – only covering basic service and freehub replacement. The hubshell bearings require special Mavic tools that I do not have (but most Mavic dealers do have). The good news is that the overall hub design is robust, and full bearing replacement is relatively rare compared to some other ‘race’ hubs.
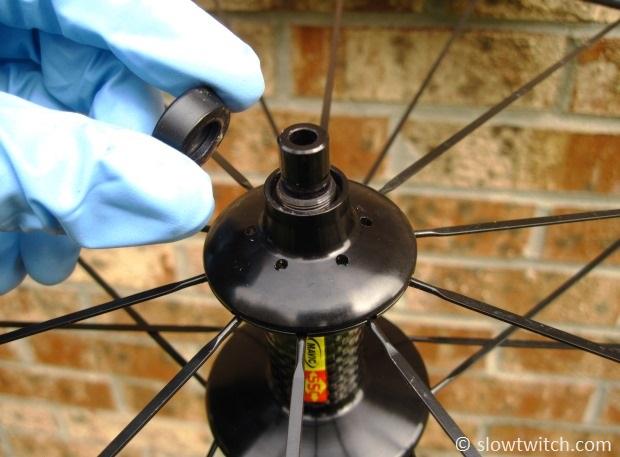
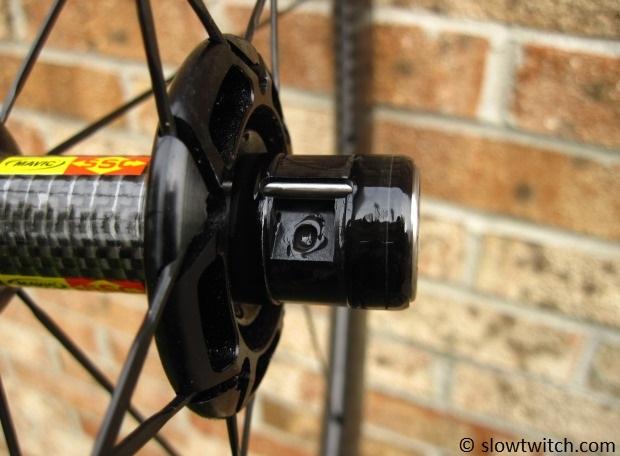
If you haven’t already done it, the first step is to remove the cassette and rear skewer. Next, use a 5mm allen key in the right side (drive side) of the axle, and a 17mm wrench on the nut. Turn the 17mm nut counterclockwise.
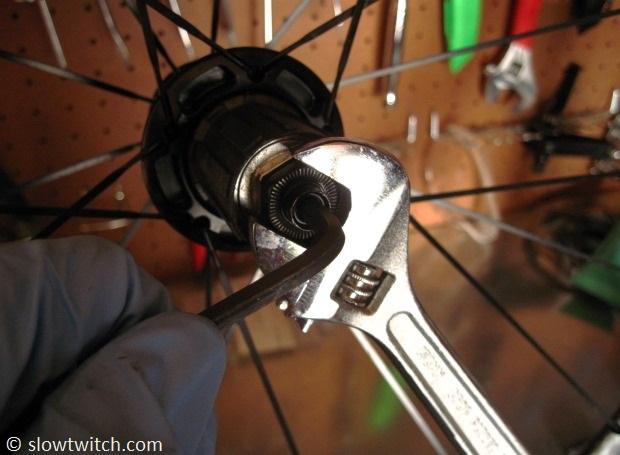
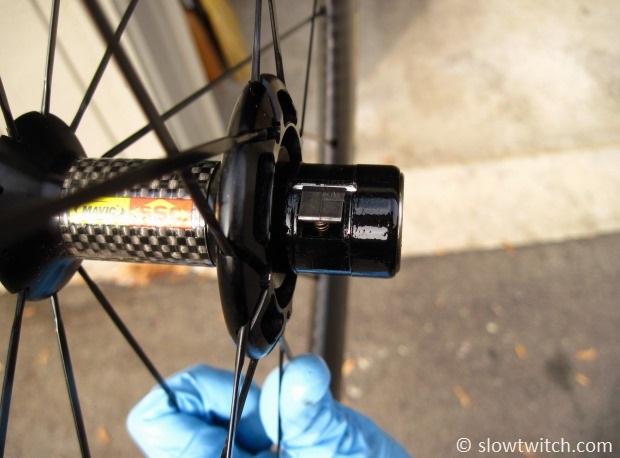
The nut comes off…
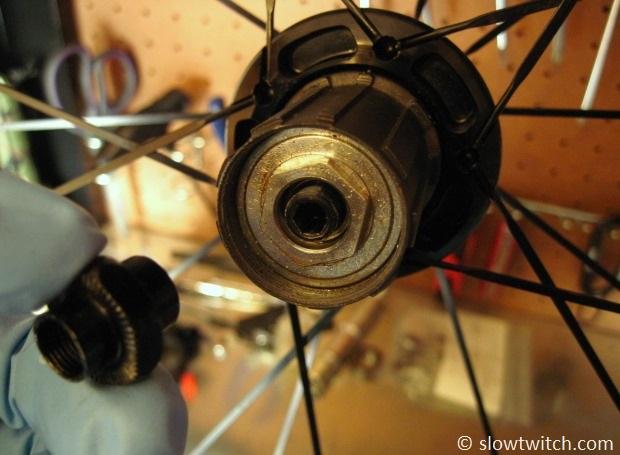
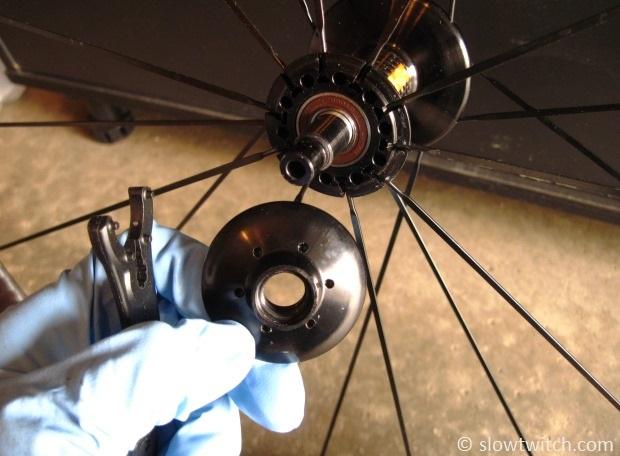
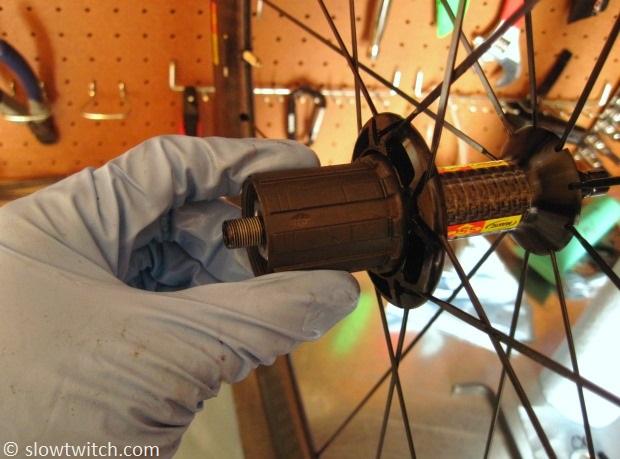
…and you can remove the whole freehub. Note the small black washer – don’t lose it!
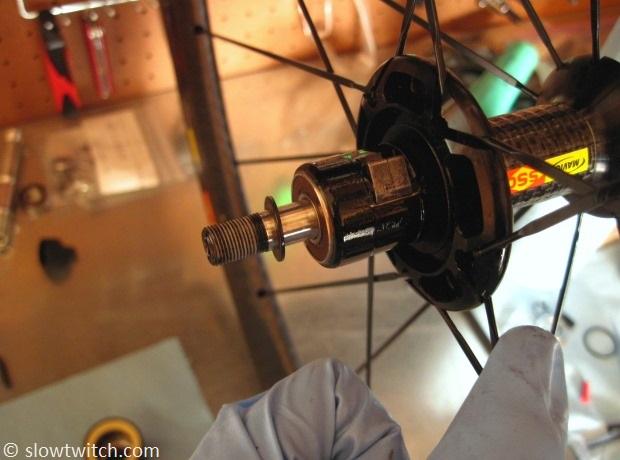
As you can see, the freehub contains a bearing inside, and uses a large bushing on the inboard side (the large white part).
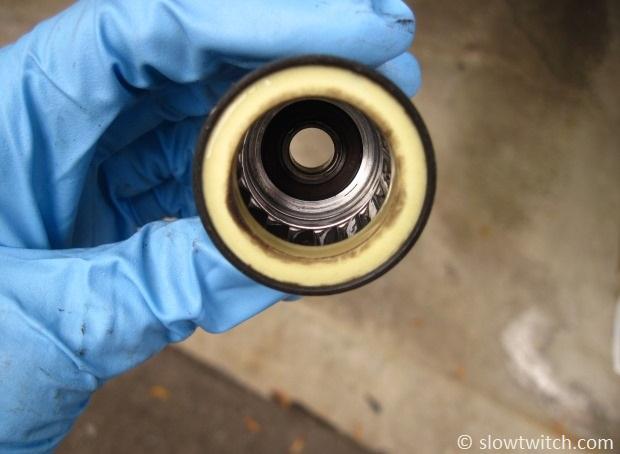
Overall, I like this design. On many rear hubs, the most common bearing failure is in the freehub. After all, that’s where the cassette lives, and is generally the biggest recipient of grime on the whole bike. Mavic says that it is possible to replace the bearing inside of the freehub, but that some consumers will just replace the whole unit. In my opinion, the latter is a better choice for the home mechanic that is dealing with a single bad bearing (e.g. the hubshell bearings are still smooth, but the freehub bearing got contaminated).
Also, according to Mavic’s Zack Vestal, the newer large inner diameter freehub bodes come with a shim so they retrofit to older-style small axles.
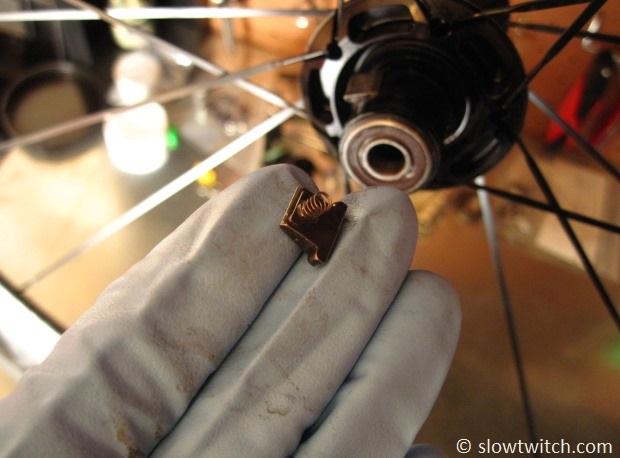
Now remove the two pawls and springs. Don’t lose the springs! They’re tiny and not permanently attached to the pawls. This is one area where it pays dividends to be careful and have a clean work space (e.g. in case you drop one of these).
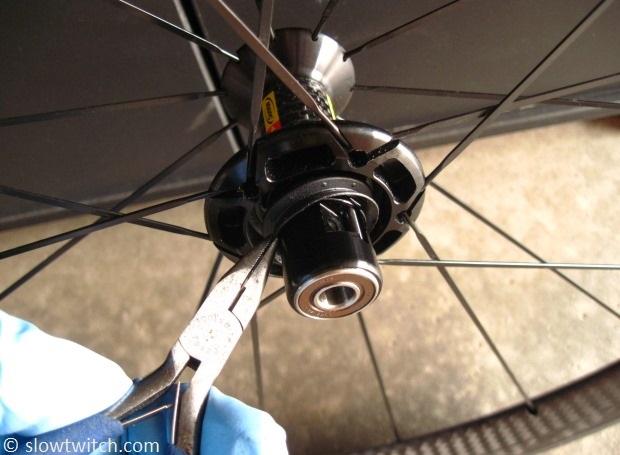
Next, use your needle nose pliers to remove the rubber ring that sits behind the freehub:
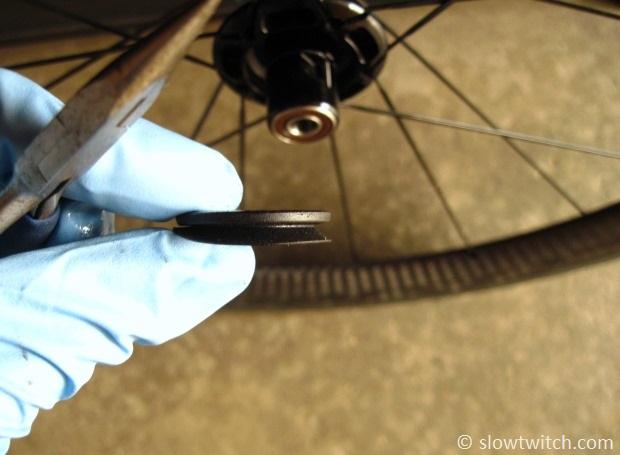
NOTE: There is a specific orientation of this rubber ring. The thick/flat side faces the hub, and the angled side faces outward:
The next step isn’t necessary for this service, but I figured it wouldn’t hurt to show you. To remove the non-drive side parts, first remove the knurled axle end cap:
Mavic wheels come with a small plastic bearing adjustment tool, which fits on the non-drive side plastic shield. It has standard right hand threads (righty-tighty, lefty-loosey). Simply unthread and remove it:
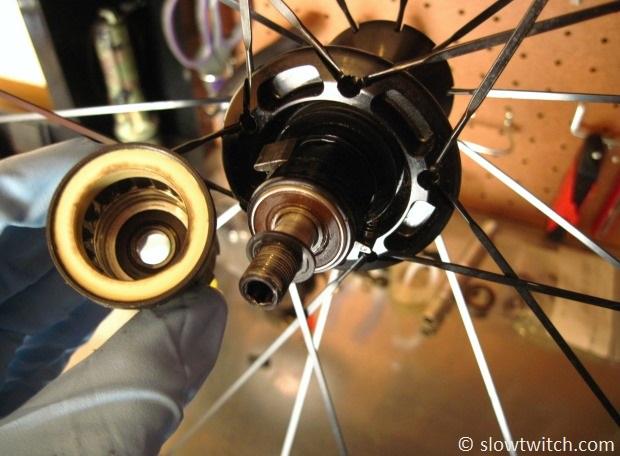
Next, slide the axle out of the non-drive side.
Here’s everything we’ve removed by now, shown in the rough orientation it would sit inside of the hub. Note that the axle is actually flipped backwards in this picture (I only realized it after the hub was reassembled and shipped back to Mavic).
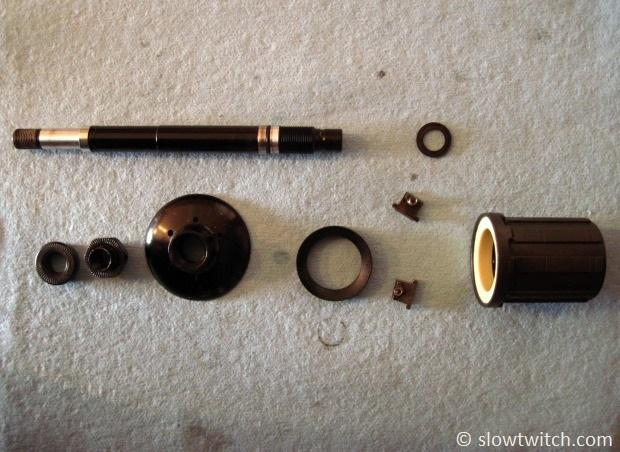
Next, wipe everything off until it shines like new. If your hub is really dirty, use a solvent such as isopropyl alcohol. As with all hubs, don’t spray solvent on the bearings – only on your rag.
Lubrication and Reassembly
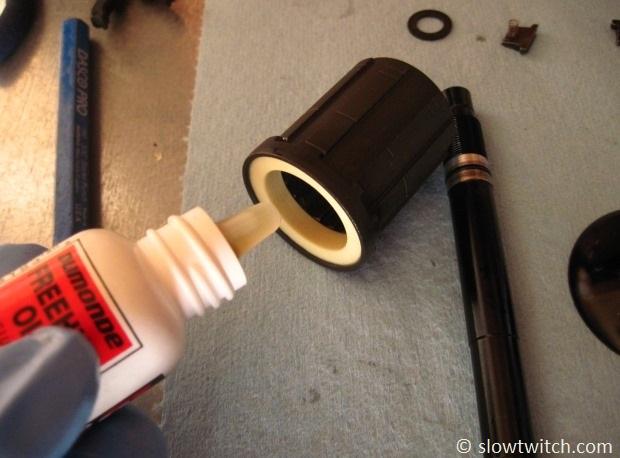
Mavic’s recommended lubricant is 10w mineral oil. I didn’t have any on-hand, so I decided to use Dumonde Tech Freehub Oil. We reviewed their entire line of lubricants (linked at the bottom of this page), and Vestal noted that he’s used it with success on their hubs.
I start with a few drops on the ratchet ring, and spread a light layer on the white bushing:
Next, put a light layer of lubricant on the rubber ring and reinstall it (in the correct orientation noted previously).
Now it’s time for the only tricky part of the process – pawl reinstallation. As you can see, there is only one way they can go in:
Carefully put the pawls in their place and apply some lubricant. I do one drop underneath on the spring, and one healthy drop on top.
Next, slide your small black washer on the axle:
Push the two pawls down with your fingers and slide the freehub back on:
Next, reinstall the drive side nut with your 5mm allen key and 17mm wrench. My official torque spec is somewhere between ‘snug’ and ‘tight’. Tight is tight, but too tight is… broken.
Finally, use the plastic tool to thread the bearing adjustment cap back on. If you want to be super pro, I recommend putting a layer of grease on top of the non-drive bearing as an extra barrier against water and dirt. Bearing adjustment is very easy – thread the cap down until it just stops and fine-tune from there. If the preload is too tight, it will be very apparent (e.g. the hub will have too much drag). Finally, put the small non-drive end cap back on.
The last step is to grab the freehub and spin the wheel really fast, because it’s fun and will make you feel good about taking care of your equipment.
Just to put a rough number to it, I recommend doing the basic service about once per year if you only use the wheel for racing. If you’re training full-time on the wheel, about every 6 months should do it. Full bearing replacement really depends on the rider, conditions, and mileage. Because it requires special tools, you’re likely best off having an authorized Mavic dealer do the service.
The basic purpose of the service we just did is to check the bearings and ensure that the drive mechanism is clean and functional. Also, because this hub has a bushing on the freehub (instead of another bearing), the rolling performance of the hub is also tied to how clean it is. Rather than needing to replace another bearing, all you have to do is wipe off the bushing and apply a little bit of oil. If you’re chasing every last watt but haven’t done this service to your Mavic hub, it’s time to get your hands dirty.
—
All images © Greg Kopecky / slowtwitch.com
![]()


